

Check local beekeeping laws first
Before you order a hive or buy bees, verify that your location allows apiaries. Local ordinances vary widely, and buying equipment you cannot legally use is a costly mistake. Start by reviewing your county or city zoning codes to see if beekeeping is permitted in residential areas.
Many jurisdictions require you to register your hives with the state department of agriculture. This registration helps officials monitor for diseases like American foulbrood and ensures you are aware of any inspection requirements. Some counties also mandate specific setbacks, requiring hives to be a certain distance from property lines or neighboring homes.
Contact your local agricultural extension office or visit their website for the most current regulations. They can clarify if your property meets the necessary requirements and guide you through the registration process. This step protects you from legal issues and ensures you can start beekeeping with confidence.
Select a natural hive design
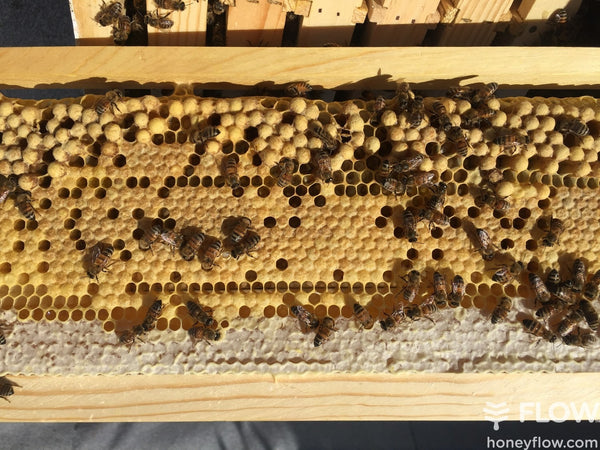
Choosing between a Langstroth and a top-bar hive is the first major decision in beginner beekeeping. Langstroth hives use stacked boxes with movable frames, allowing for efficient honey extraction but requiring more physical labor. Top-bar hives rely on horizontal boxes where bees build natural comb, making inspections gentler and less invasive.
Both systems support natural comb construction, but they differ in how you manage the colony. Langstroth hives are the industry standard for commercial honey production, while top-bar hives appeal to those prioritizing low-intervention methods.
Compare hive options
Use this table to compare the two most common natural hive designs for beginners.
| Feature | Langstroth Hive | Top-Bar Hive | Beginner Note |
|---|---|---|---|
| Structure | Vertical stacked boxes | Horizontal single box | Langstroth requires more lifting. |
| Comb Type | Straight frames | Top-bar comb is fragile. | |
| Maintenance | High (heavy lifting) | Low (light lifting) | Top-bar is easier on the back. |
| Honey Yield | High | Moderate | Langstroth extracts more. |
| Cost | Moderate | Low to Moderate | Top-bar uses less wood. |
Assemble your starter kit
Before you pick up a single bee, you need the right gear. A well-stocked starter kit protects you and makes the work manageable. Former State Apiarist Tammy Horn Potter identifies four essential tools every beginner needs to get started safely and effectively.
Essential protective gear
Start with a beekeeping suit or jacket. A one-piece suit offers full coverage, while a jacket with veil is lighter and easier to store. Look for breathable fabric if you live in a warm climate. Always ensure the veil is securely attached to prevent bees from entering.
The smoker and hive tool
The smoker calms bees by masking alarm pheromones. Use untreated wood or pine needles as fuel; avoid treated wood or plastics that release toxic fumes. Keep the smoker lit and cool between puffs. The hive tool is your pry bar. Use it to lift frames and scrape away excess propolis and wax. It is a small, inexpensive tool that saves your fingers and your frames.
Recommended beginner products
Choosing the right gear can be overwhelming. These Amazon products are highly rated by the community and designed for beginners.


As an Amazon Associate, we may earn from qualifying purchases.
Install your first colony
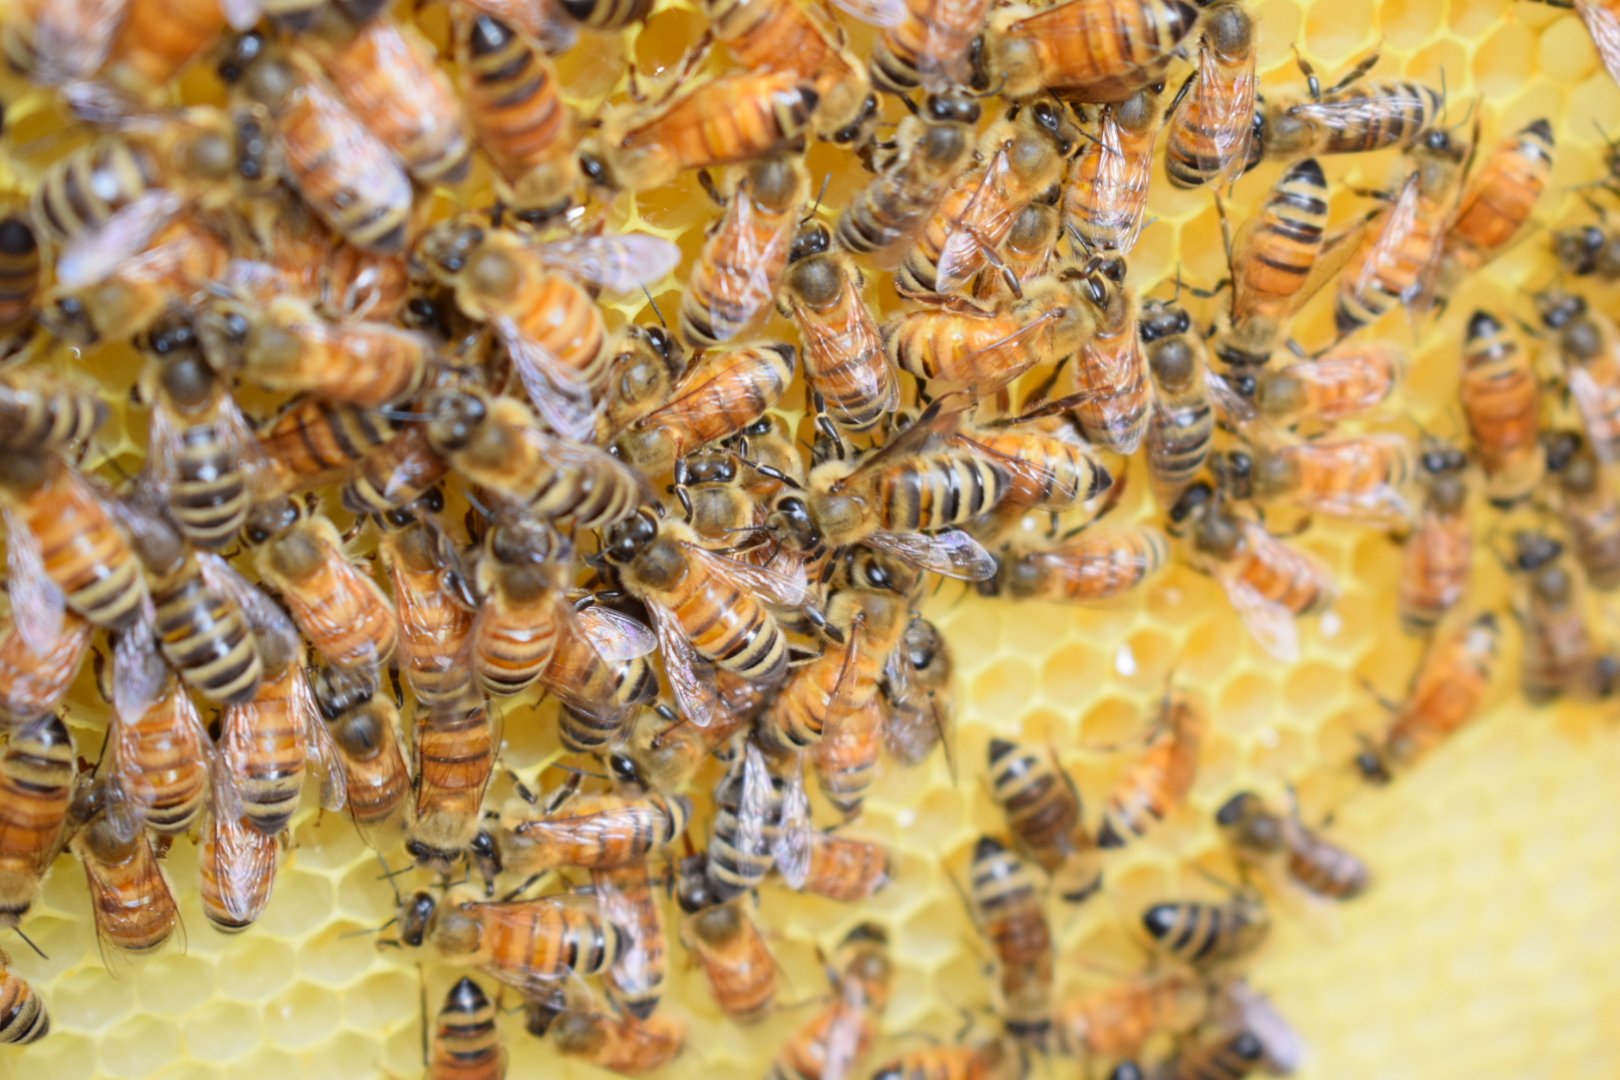
Installing your bees is the moment the hobby becomes real. Whether you chose a nuc (nucleus colony) or a package of bees, the goal is the same: move them into their new home with minimal stress so they can start building comb and storing honey. Timing matters more than technique. Install in the late afternoon or early evening when the majority of foragers are back in the field, reducing the chance of them flying home to the wrong location.
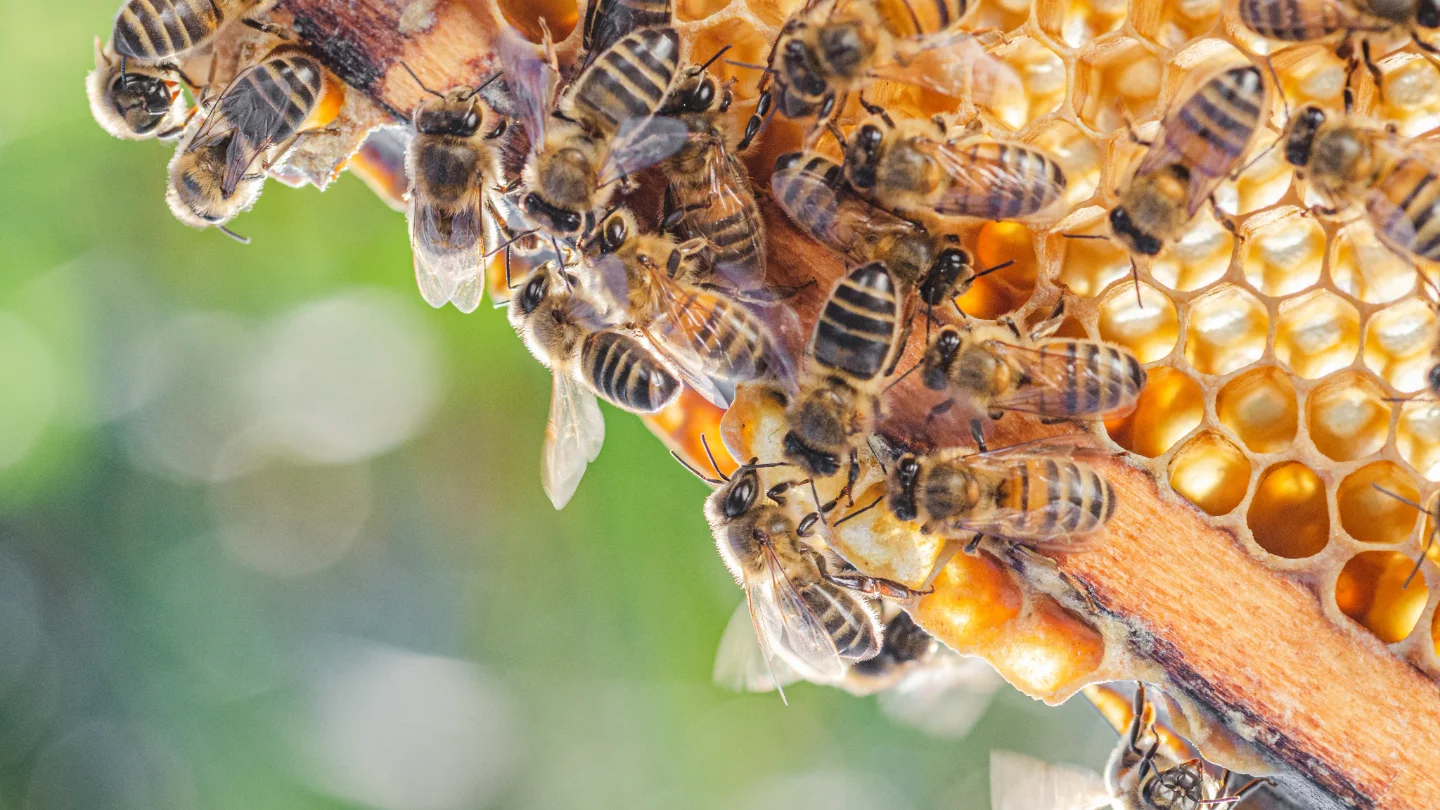
Before opening the package or nuc, ensure your hive body is ready. If using a nuc, shake the bees gently into the empty box or place the frames directly into the hive body, ensuring they are centered. If using a package, install it into the center of the hive, flanked by existing frames or empty foundation. Add a landing board reducer if the entrance is too large, helping the bees defend their new home against robbers.
For a package, tap the bottom of the cage against the hive body to encourage the bees to move down. Remove the queen cage’s candy plug and pin it between two frames in the center of the hive. Shake the remaining bees into the hive around the queen cage. For a nuc, simply place the frames into the hive body, ensuring the queen is not crushed. Close the hive lid and screen top securely.
Place a feeder filled with 1:1 sugar syrup on top of the hive. This provides immediate energy while they establish themselves. Close the hive and leave it undisturbed for 7–10 days. This waiting period allows the queen to lay eggs and the colony to stabilize. Check for the presence of brood (eggs and larvae) in frames after this period to confirm the queen is laying.
Post-installation checklist
Your first inspection should be gentle and focused. Look for the queen or, more reliably, fresh brood pattern. If you see eggs in the first week, your installation was successful. Continue feeding until natural nectar flow begins in your area. Keep the hive entrance clear of debris and monitor for signs of disease or pests, particularly varroa mites, as recommended by your local extension service.
Manage pests naturally
Varroa mites are the single biggest threat to your hive. They weaken bees by feeding on their fat bodies and spreading viruses. If left unchecked, they collapse colonies within a season. Integrated Pest Management (IPM) combines mechanical and organic methods to keep mite counts low without killing the colony.
Mechanical controls
Start with physical barriers and monitoring. Install screened bottom boards to let mites fall out of the hive. These boards trap debris and mites that drop from the bees, making it easier to spot infestations early.
Perform sugar roll or alcohol wash tests every four weeks. These tests give you a precise count of mites per hundred bees. Only treat when the numbers exceed your action threshold, usually one to two mites per hundred bees.
Consider drone brood removal. Mites prefer to reproduce in drone cells. If you can extract capped drone brood and destroy it, you remove a large percentage of the mite population without chemicals. This method requires careful timing and hive manipulation.
Organic acid treatments
When mite levels rise, use organic acids. These substances break down mite exoskeletons but dissipate quickly, leaving no residue in the honey.
Formic acid is effective but requires precise temperature management. It must be applied when temperatures are between 60°F and 90°F. Too hot, and it harms the brood; too cold, and it does not penetrate the wax caps effectively. Follow the manufacturer’s instructions exactly.
Oxalic acid works best in winter when brood rearing stops. Apply it via dribble or vaporization when there are no open brood cells. This ensures the acid contacts the mites directly on the adult bees. Always wear protective gear and apply on a calm day to prevent drift.
Monitor and adjust
Track your results after every treatment. Re-test one week after applying oxalic acid or two weeks after formic acid. If mite counts remain high, switch methods or combine approaches. Consistent monitoring prevents surprise colony losses and keeps your bees healthy.
Common beginner mistakes to avoid
New beekeepers often treat their first hive like a set-and-forget project. This approach rarely works. Caring for a hive requires several hours of husbandry a year, involving opening and inspecting frames and getting stung in the process [src-serp-1]. If you skip the hard work, the colony will likely fail.
The most fatal error is poor site selection. Bees need sun, wind protection, and water. Placing a hive in deep shade or a drafty corner forces them to expend energy on warmth or cooling rather than foraging. Ensure the entrance faces southeast to catch morning sun and keep the path clear of foot traffic to reduce defensive behavior.
Late or irregular inspections are the second major killer. You must check for the queen and brood pattern every 7–10 days during the main flow. If you wait too long, you might miss signs of queenlessness or swarming intent. A queenless colony will eventually die out as workers stop laying and the population crashes. Use this pre-winter inspection checklist to ensure your hive is ready for the cold months.
Finally, avoid over-harvesting. New colonies need every pound of honey they make to survive winter. Taking it all leaves them hungry. Wait until late summer or early fall to harvest, and always leave enough for their own consumption. Patience yields better honey and healthier bees.
Frequently asked: what to check next
These questions address common concerns for beginners starting their first hive.
What is the 3-3-3 rule for bees?
The 3-3-3 rule is a guideline for managing a new package of bees. You should not open the hive for the first three days after installation. During the next three weeks, check the hive every three days to ensure the queen has accepted her cage and begun laying eggs. After this initial period, you can move to standard monthly inspections.
Is beekeeping hard for beginners?
Beekeeping requires a modest time commitment but involves a learning curve. According to scientific beekeeping resources, caring for a hive requires several hours of husbandry annually, primarily involving frame inspections. You must also be prepared to handle stings, which are common when learning proper protective techniques.
What is the 7/10 rule in beekeeping?
This rule refers to feeding timing. If you are feeding sugar syrup to a new colony, continue for seven days and then check for ten days to see if they have drawn out wax comb and accepted the food. If they have not, adjust the feeding schedule or quantity to prevent robbing by other bees.
Will I get honey my first year beekeeping?
It is unlikely you will harvest honey in your first year. New colonies need to focus their energy on building comb and storing enough food for themselves. Harvesting too early can starve the hive or weaken it before winter. Expect your first significant harvest in the second year.
No comments yet. Be the first to share your thoughts!