
Choose the right hive design
Natural beekeeping prioritizes the health of the colony over maximum honey extraction. Your hive choice sets the foundation for this approach. Standard Langstroth hives with wax or plastic foundation restrict comb building and often require chemical interventions. To align with natural principles, select a design that allows bees to build their own comb and minimizes invasive inspections.
The three main options are Top-Bar, Warre, and Foundationless Langstroth. Each has distinct trade-offs regarding inspection ease, honey yield, and alignment with natural behaviors. Use the comparison below to decide which structure fits your local climate and experience level.
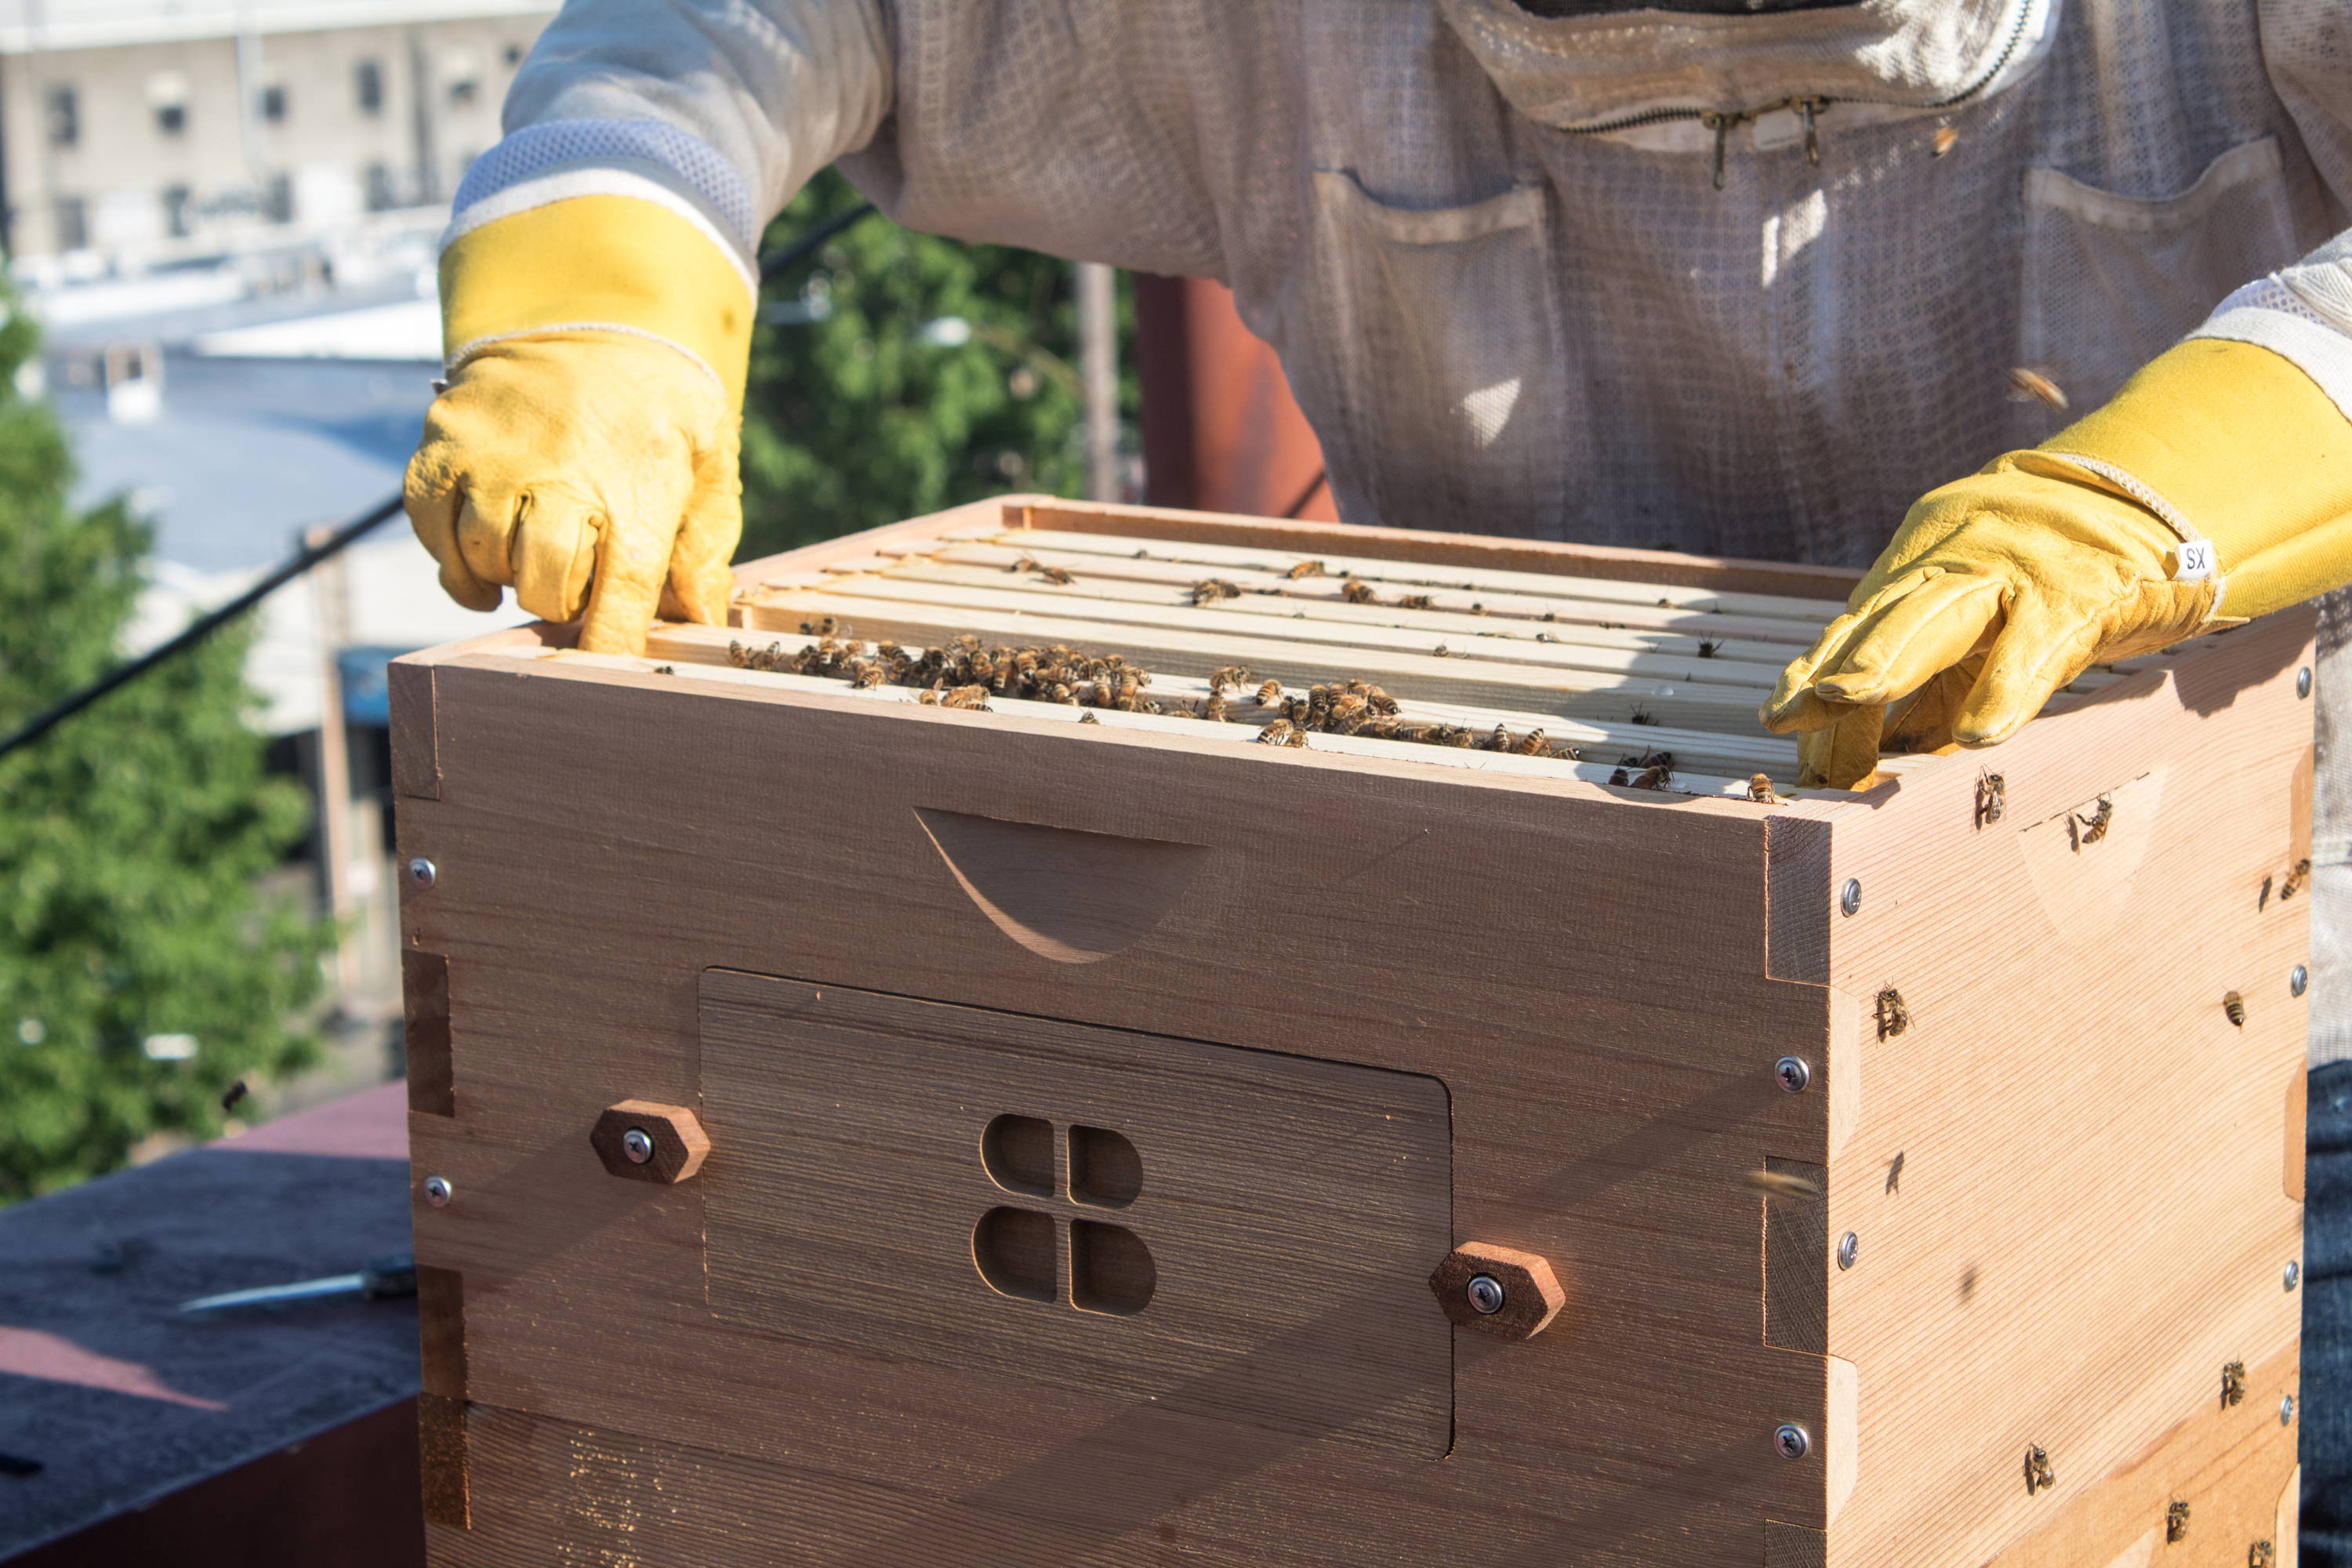
Top-Bar hives offer a horizontal design where you inspect bees by lifting bars from the side. This eliminates the heavy lifting of deep boxes and reduces stress on the colony. Warre hives stack vertically but expand upward, mimicking a tree cavity. Inspections are rare and gentle, often limited to adding new boxes. Foundationless Langstroth hives use standard frames but omit the pre-stamped wax foundation. Bees draw their own comb, which can be thicker and more resilient, while still allowing manageable frame removal for harvesting.
Avoid standard foundation-based Langstroth hives if your goal is strictly natural beekeeping. The rigid comb structure forces bees into unnatural patterns and can harbor pests more easily. Choose a system that respects the bees' architectural instincts. For more on why foundationless frames are preferred, see BeeBuilt’s guide on natural beekeeping supplies.
Source bees through swarm catching
Buying packaged bees means importing genetics that may not survive your local climate. Catching feral swarms is the most reliable way to acquire honeybees already adapted to your specific environment. These bees have already proven they can withstand local winters, resist regional diseases, and forage on native flora. This process removes the guesswork from acclimation and gives you a head start on a resilient colony.
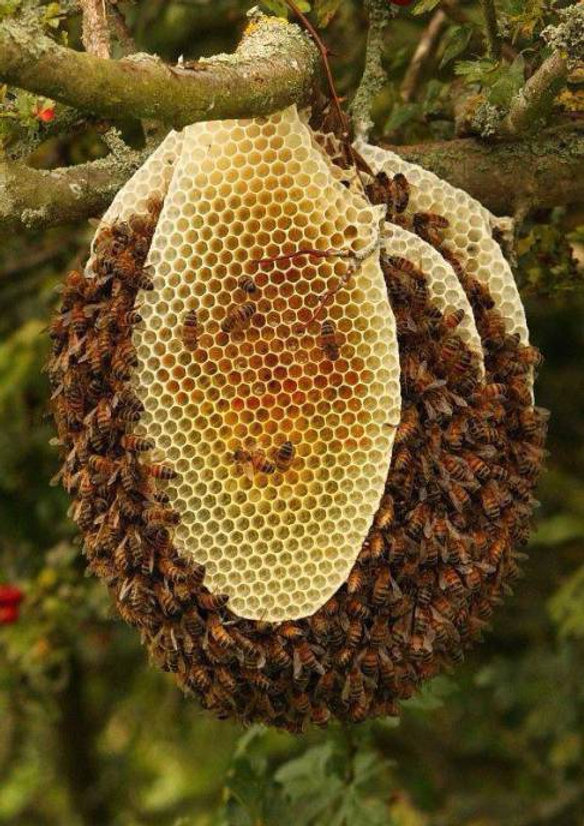
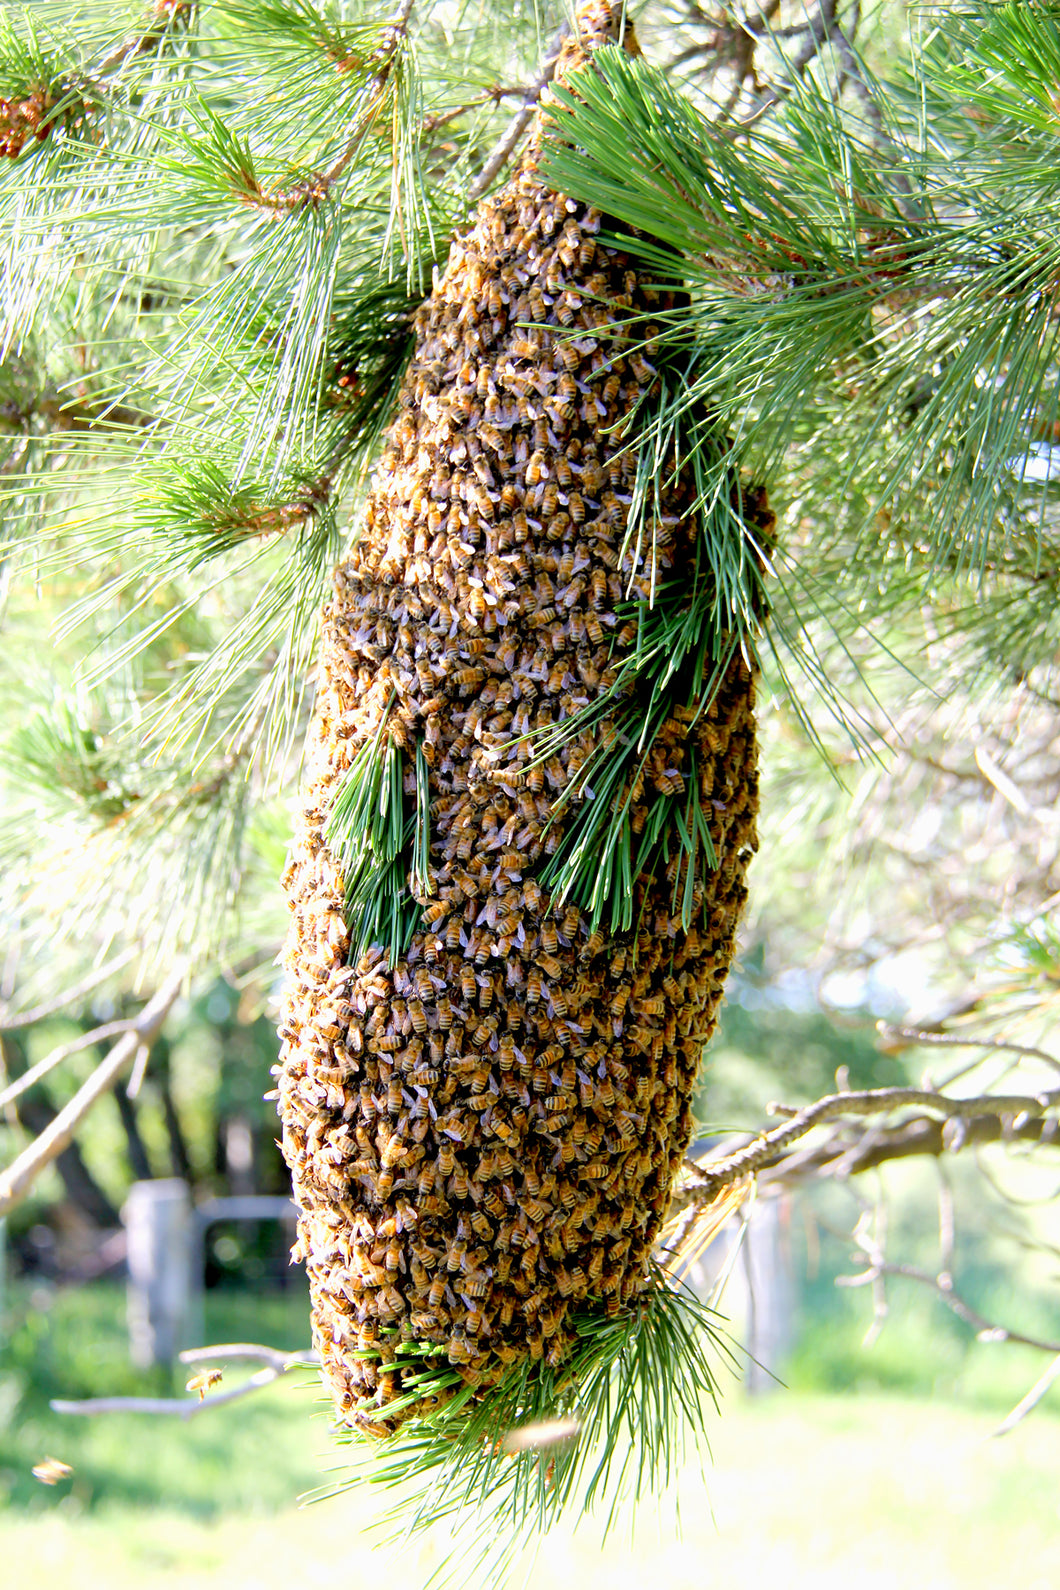
Catching swarms is not just about acquiring bees; it is about partnering with nature. By working with local genetics, you reduce the need for chemical treatments and artificial feeding. This method aligns with the core principles of natural beekeeping, fostering a hive that is strong, self-sufficient, and ready to thrive.
Check local beekeeping regulations
Before you install your first hive, you must verify that your property allows beekeeping. Natural beekeeping relies on local ecosystem integration, but local laws often restrict hive placement to protect public safety and property rights. Ignoring these rules can lead to fines, forced removal of your hives, or conflicts with neighbors.
Start by checking your county or city zoning ordinances. Many rural areas allow beekeeping by right, while suburban or urban zones may require a minimum lot size or restrict the number of hives per acre. Some jurisdictions classify bees as livestock, which triggers specific agricultural zoning requirements. You can usually find this information on your local government’s planning or zoning department website.
If you live in a planned community, review your Homeowners Association (HOA) covenants, conditions, and restrictions (CC&Rs). HOAs frequently ban hives or impose strict aesthetic guidelines, such as requiring hiding fences or specific hive colors. Even if your city allows bees, an HOA restriction can override that permission. Request a copy of the current CC&Rs and look for sections on "livestock," "apiaries," or "nuisances."
Finally, determine if your area requires registration. Some states or municipalities mandate that beekeepers register their hives with the state department of agriculture. This helps officials track disease outbreaks and manage pest control efforts. Registration is often free and can be completed online. Keep your registration certificate accessible in case of inspections.
Pre-installation legal checklist
-
Review county zoning ordinances for apiary allowances
-
Check HOA CC&Rs for hive restrictions or bans
-
Register hives with the state department of agriculture if required
-
Notify immediate neighbors of your beekeeping plans
Select protective gear and tools
Natural beekeeping emphasizes working with the colony rather than against it. This approach requires gear that protects you while allowing you to handle frames with minimal disruption. The goal is to keep the bees calm and the hive structure intact.
Start with a full-body beekeeping suit made from lightweight, breathable fabric. Ventilation is critical; heavy suits cause sweating, which can agitate bees. A suit with elastic cuffs and a veil that integrates smoothly into the jacket prevents gaps where bees might enter. Look for gear that allows full range of motion so you can move slowly and deliberately.
Your primary tool is a hive tool. This flat, metal pry bar helps you separate frames stuck together with propolis without crushing bees. Choose a tool with a comfortable grip and a sturdy tip. You will use it to gently lift frames and scrape excess wax from the hive entrance, keeping the colony tidy.
A smoker is essential for natural beekeeping. It calms bees by triggering a feeding response, masking alarm pheromones. Use a standard metal smoker with clean, dry fuel like burlap or pine needles. Avoid treated woods or synthetic materials that release toxic fumes. A well-functioning smoker with good airflow ensures cool, thick smoke that soothes rather than irritates.


As an Amazon Associate, we may earn from qualifying purchases.
Manage pests without chemicals
Controlling Varroa mites and other hive pests without synthetic miticides requires a proactive, mechanical approach. Instead of relying on acid treatments that can lead to resistance, you manage the hive environment to make it hostile to pests while supporting the bees' natural defenses.
Replace solid bottom boards with screened ones. This allows gravity to do the work by letting fallen mites drop out of the hive rather than re-climbing onto the bees. It also improves airflow, which helps regulate hive humidity and discourages chalkbrood fungus.
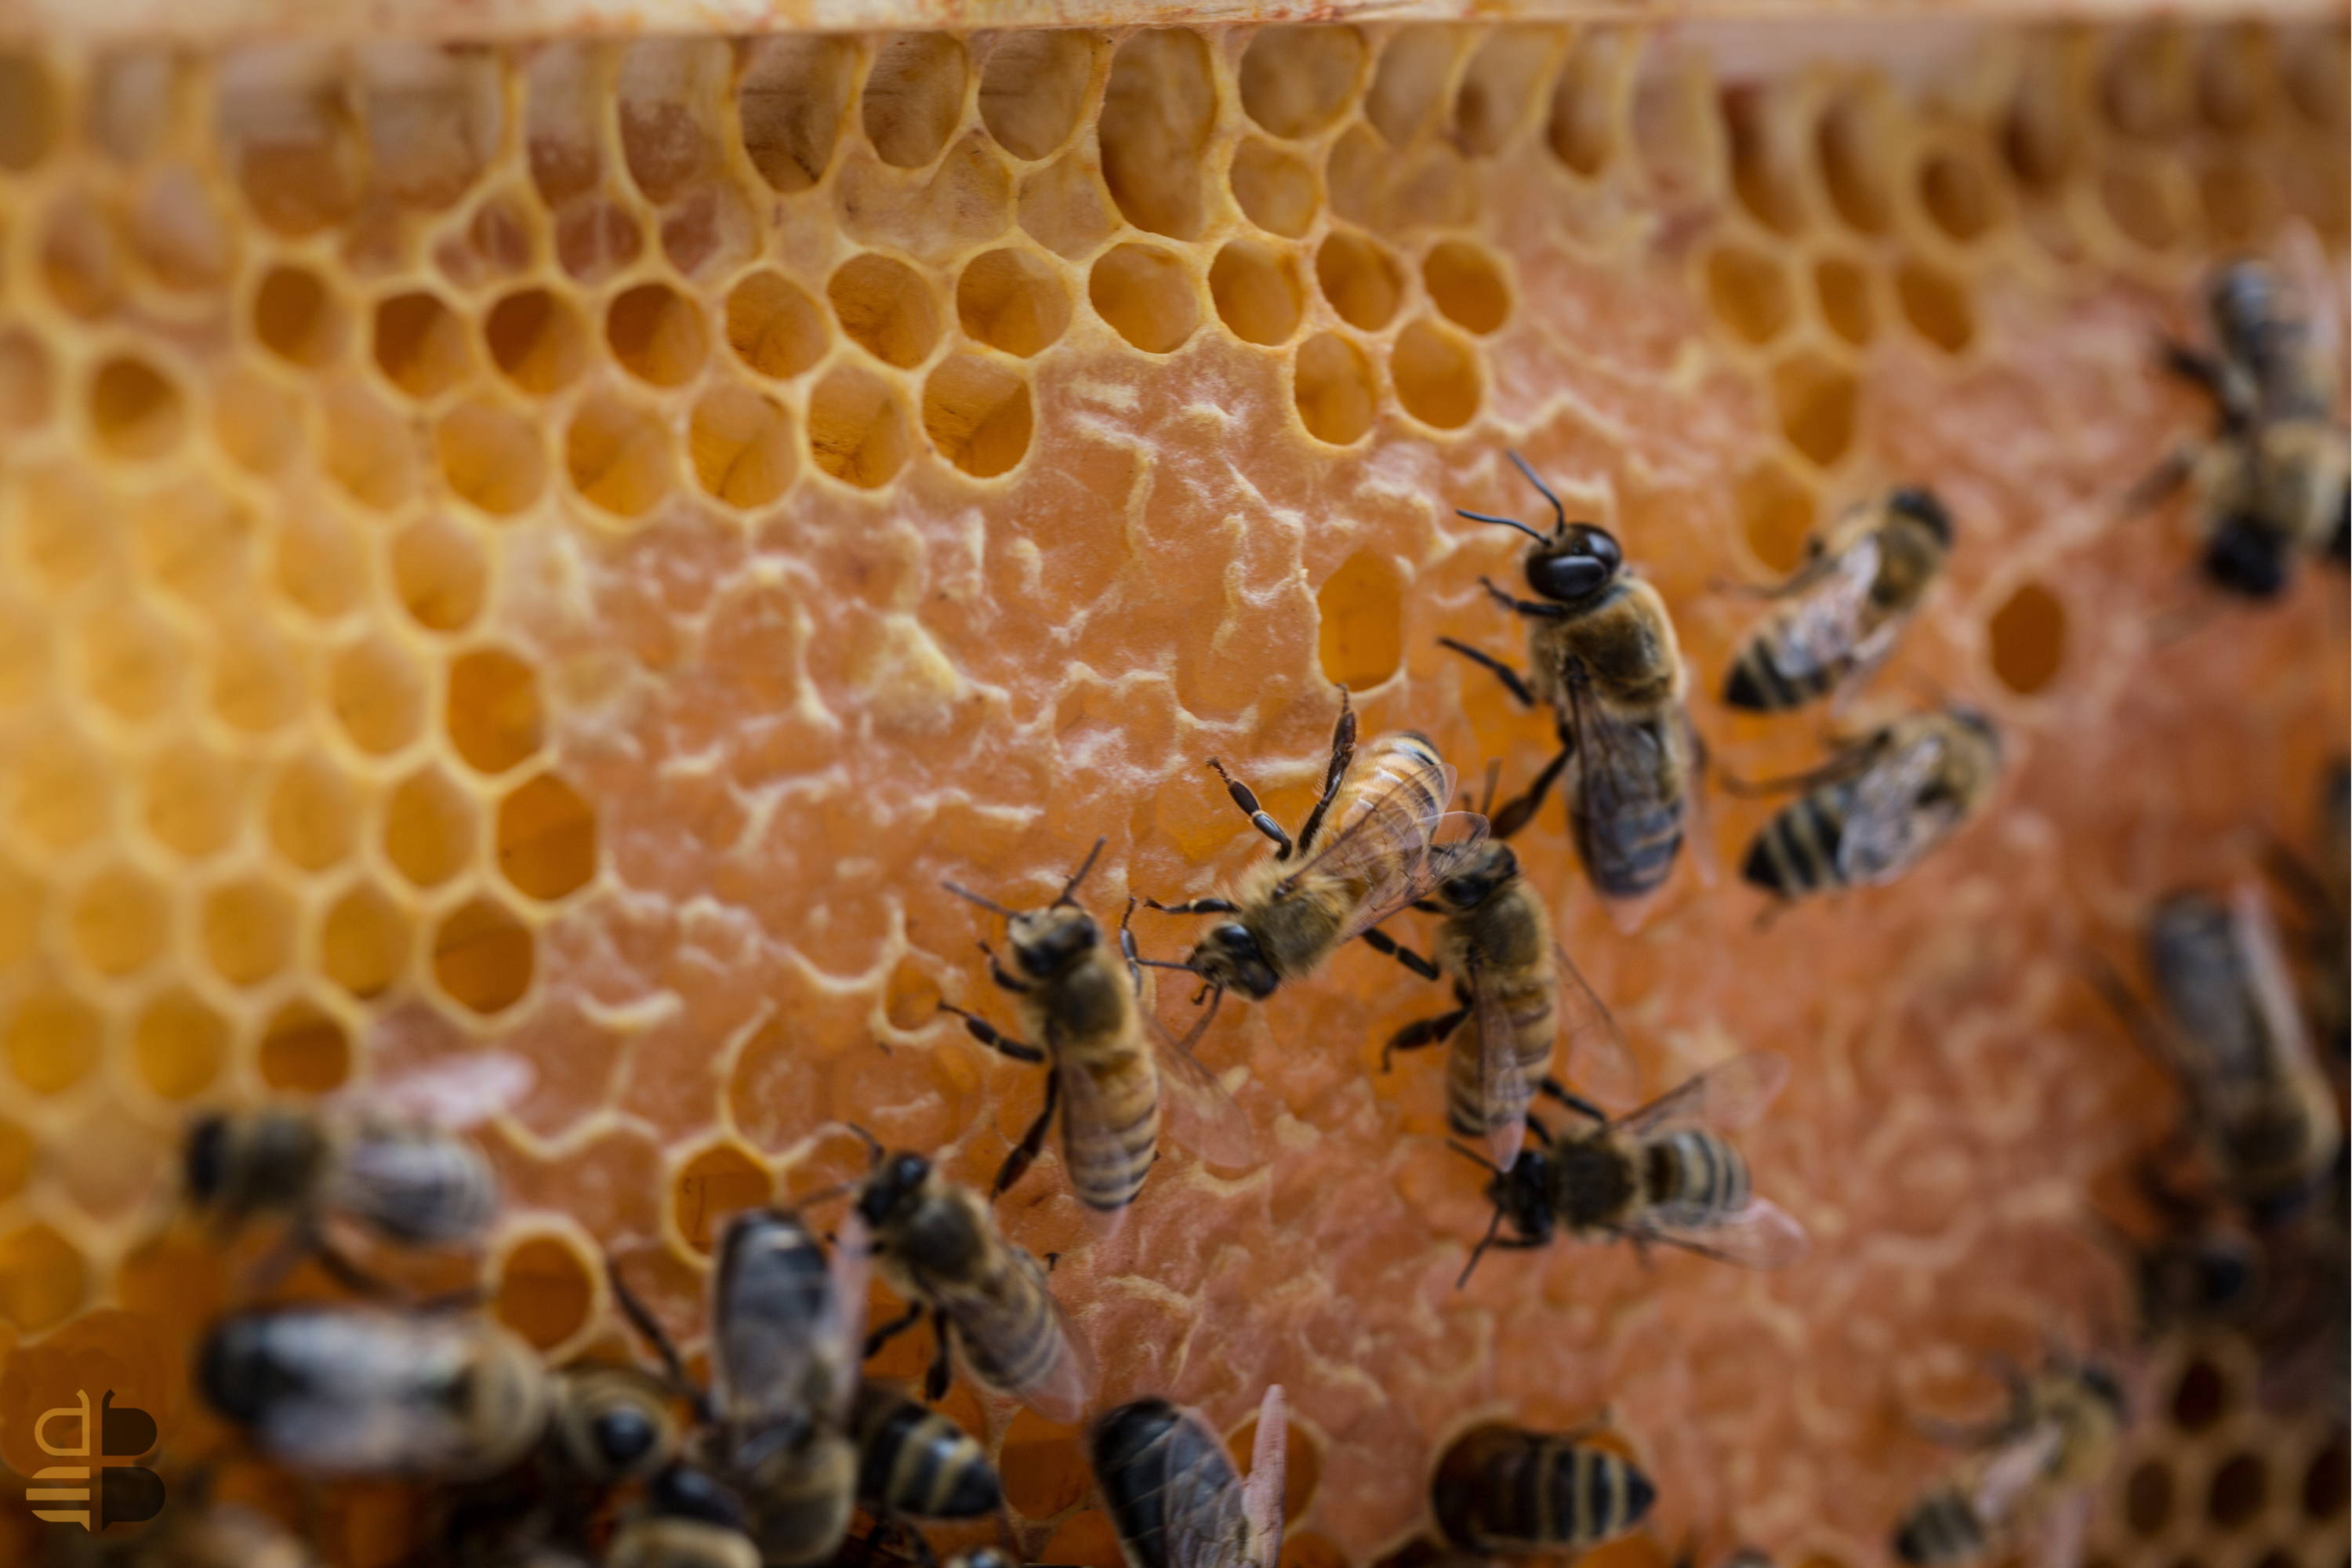
Varroa mites prefer to reproduce in drone brood because it has a longer capped period. Cut out frames containing drone brood, scrape out the capped cells, and destroy the contents. This removes a significant percentage of the mite population without harming the worker bees or their honey stores.

Many natural beekeepers avoid standard wax foundation, opting instead for small-cell comb or allowing bees to draw out their own comb. Shorter worker cells mean the mites have less time to reproduce before the bee emerges, naturally reducing the mite reproduction rate over generations.
A strong colony with a high ratio of nurse bees can groom and remove mites more effectively. Ensure your bees have access to diverse pollen sources and are not overcrowded, as stress makes them more susceptible to pest damage.
Common natural beekeeping mistakes
The easiest mistake with Natural Beekeeping Techniques is comparing options on the most visible detail while ignoring the day-to-day constraint. A choice can look strong on paper and still fail because it is too hard to maintain, too expensive to repeat, or awkward in the actual setting. Use the same checklist for every option: fit, cost, durability, timing, upkeep, and fallback plan. That keeps the comparison practical instead of drifting into preference alone.
The simplest way to use this section is to write down the real constraint first, compare each option against it, and choose the path that still works outside ideal conditions.
No comments yet. Be the first to share your thoughts!