

Check local beekeeping laws first
Before you order a hive or join a local club, treat legal compliance as your primary barrier to entry. Many beginners skip this step, only to find themselves removing a hive they cannot legally keep. Zoning ordinances, hive limits, and registration requirements vary wildly by jurisdiction, and ignoring them can lead to fines or forced removal.
Start with your municipal code. Most cities and counties have specific ordinances regarding livestock and agricultural activities in residential zones. These codes often dictate setbacks (how far hives must be from property lines), the maximum number of hives allowed per acre, and whether bees are classified as livestock. You can usually find this information on your city or county government website under "zoning," "animal control," or "code enforcement." If your municipality does not explicitly ban bees, it is often because they fall into a gray area, which requires a call to your local planning department for clarity.
Next, check for Homeowners Association (HOA) rules. Even if your city allows beekeeping, your HOA’s Covenants, Conditions, and Restrictions (CC&Rs) might prohibit it. Many HOAs view hives as an aesthetic nuisance or a safety hazard. Review your HOA documents carefully. If the rules are ambiguous, you may need to submit a request for architectural review or seek a variance. Some communities have successfully petitioned to allow beekeeping with specific conditions, such as installing flight barriers or keeping hives in the rear yard only.
Finally, verify state-level registration requirements. In many states, beekeepers must register their hives with the state department of agriculture. This is not just a formality; it helps state officials track disease outbreaks like Varroa mites or American Foulbrood and provides you with resources and alerts. Registration is often annual and may involve a small fee. Failure to register can result in penalties, especially if your bees are involved in a disease outbreak.
To ensure you are fully compliant, create a checklist of the specific regulations in your area. This includes noting any required setbacks, hive limits, and registration deadlines. By addressing these legal hurdles first, you can focus on the practical aspects of beekeeping without the constant worry of regulatory non-compliance.
Select a beginner beekeeping starter kit
Starting with a curated starter kit simplifies the initial investment by bundling the essential hardware you need to house a new colony. Rather than sourcing individual components from separate suppliers, a kit ensures compatibility between hive boxes, frames, and protective gear. This approach reduces the risk of buying mismatched parts that could compromise the hive’s integrity or your safety.
Essential components
A standard beginner kit should include the structural elements of the hive and the tools required to inspect it without damaging the comb. The following items form the core of any reliable setup:
- Hive boxes and frames: The foundation of your apiary, typically including a bottom board, brood chamber, and honey supers.
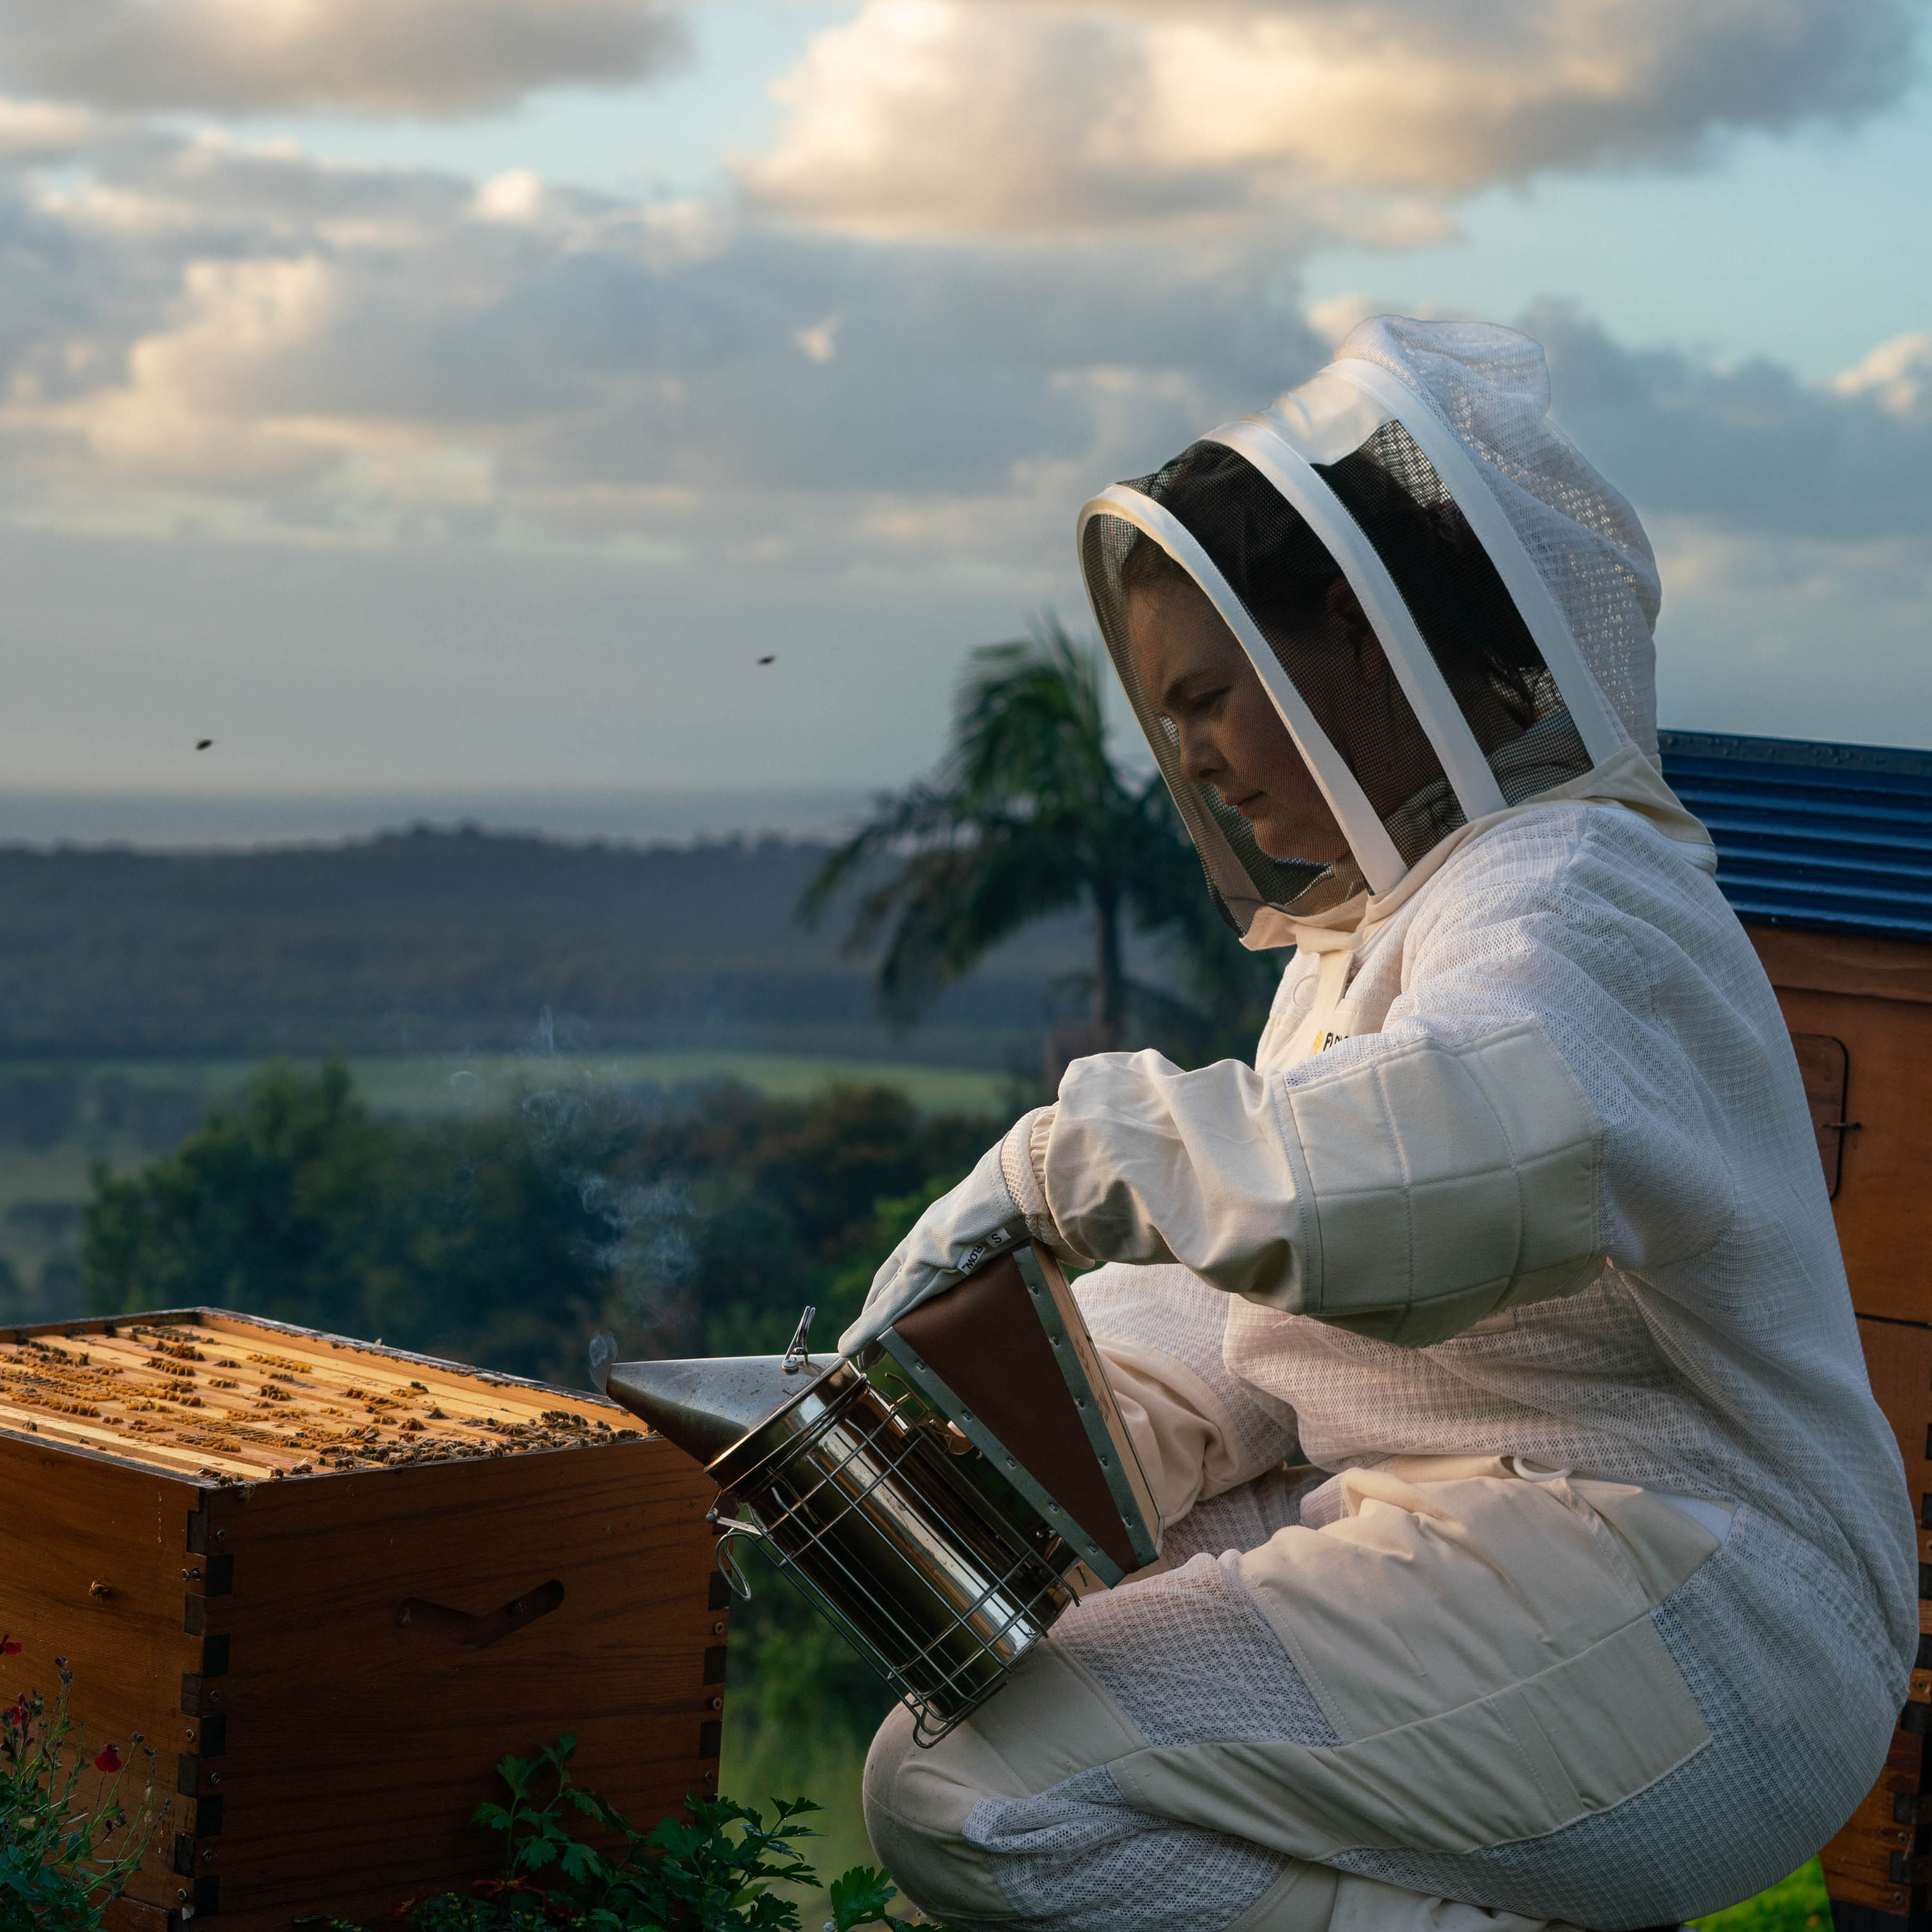
- Protective suit: A ventilated bee suit with gloves and a veil to prevent stings during inspections.
- Hive tool: A flat, metal pry bar used to separate frames glued together by propolis.
- Smoker: A device that emits cool smoke to calm bees and mask alarm pheromones.
Optional add-ons
While the items above are non-negotiable, several accessories can improve efficiency as you gain experience. These are not required for your first season but are worth considering for long-term maintenance:
- Frame extractor: Allows you to harvest honey without destroying the comb, saving time on future builds.
- Feeder: Helps supplement the colony with sugar syrup during periods of low nectar flow.
- Queen cage: Used when introducing a new queen bee to an existing hive to ensure safe integration.
What to skip initially
Many kits include unnecessary items to inflate the price. Avoid purchasing heavy plastic hive tops, decorative entrance reducers, or specialized queen rearing tools until you have managed at least one full cycle of hive inspections. Focus your budget on durable wood or polypropylene hive bodies and high-quality protective gear. These items directly impact the health of your bees and your comfort during management tasks.
Adopt natural beekeeping techniques
Natural beekeeping shifts the focus from extracting honey to supporting the colony’s biological rhythms. This approach minimizes chemical interventions, allowing bees to manage pests and diseases through their own immune responses and hive architecture. The goal is resilience rather than maximum yield.
Minimal intervention
Traditional beekeeping often involves frequent inspections and frame manipulation to monitor health and prevent swarming. Natural beekeeping reduces this disturbance. By opening hives less often, you lower stress on the colony and preserve the internal temperature and humidity they maintain. This method relies on observing the hive from the outside—watching entrance activity and listening for changes in sound—rather than constant physical intrusion.
Untreated brood and selective breeding
A core tenet of natural beekeeping is avoiding synthetic miticides and antibiotics. Instead, beekeepers select for genetic traits that confer resistance to Varroa mites and other pathogens. This process, known as selective breeding, takes time. It involves letting the hive show its natural weaknesses and allowing only the strongest, most resilient queens to propagate. Over several generations, this creates a local stock of bees that are adapted to survive without chemical aids.
Swarm management as a tool
In conventional beekeeping, swarming is viewed as a failure to be prevented. Natural beekeepers see it as a vital reproductive cycle. By using swarm traps or split colonies, you mimic nature’s way of expanding the population. This maintains a young, vigorous queen and keeps the hive in a productive state. It also reduces the need for artificial splitting and requeening, which can disrupt the colony’s pheromone balance.
Balancing husbandry and nature
Adopting these methods does not mean abandoning care. As noted by experts, beekeeping still requires several hours of husbandry a year (Scientific Beekeeping, n.d.). However, the nature of that work changes. Instead of treating symptoms with chemicals, you are managing the environment and genetics. This approach demands more observation and patience but results in a hive that is more robust and self-sustaining.
Set up your first hive location
Choosing the right spot for your backyard apiary is the most critical physical step in beginner beekeeping. A well-placed hive supports colony health, simplifies your maintenance routine, and prevents friction with neighbors. The UC Davis College of Agricultural and Environmental Sciences notes that a reliable water source is essential for bees, especially during hot months when they need to cool the hive and dilute honey [[src-serp-7]].
Sun exposure and airflow
Bee colonies thrive in locations that receive morning sun to kickstart foraging activity. An east-facing position is ideal, allowing the bees to leave the hive early while avoiding the intense heat of the afternoon sun, which can overheat the brood. Ensure the site has good airflow to prevent stagnant, humid air from lingering around the hive, which can encourage mold and disease. Avoid low-lying areas where cold air settles, as these "frost pockets" can stress the colony in winter.
Water access
Bees need water for thermoregulation and diluting stored honey. If your hive is more than a quarter-mile from a natural water source like a pond or stream, you must provide one. A shallow birdbath with stones or floating corks gives bees a safe landing spot so they don't drown. Place this water source downwind and at a distance from the hive entrance; if the water is too close, bees will congregate there instead of foraging, reducing honey production.
Neighbor relations
Your neighbors are your most important allies. Position the hive so the flight path goes upward over their heads, directing bee traffic away from their patios or windows. A six-foot fence or dense hedge acts as a visual barrier, forcing bees to fly higher immediately after takeoff. Keep the hive entrance facing away from shared property lines. Open, honest communication about your apiary goes a long way in maintaining good relations.
Track your first year milestones
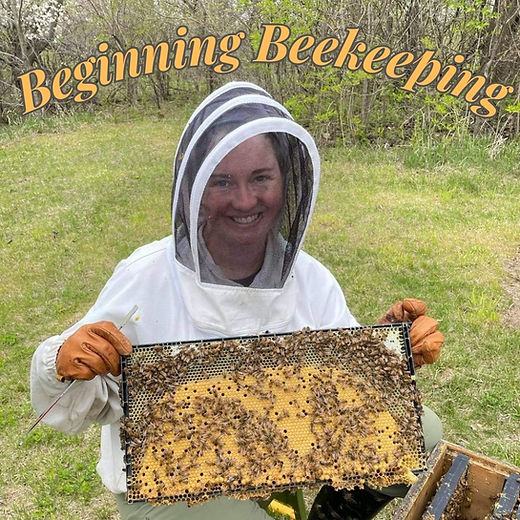
Managing expectations is the most practical skill a new beekeeper can develop. The first year is less about production and more about establishing a strong, overwintering colony. According to scientific beekeeping research, caring for a hive requires several hours of husbandry annually, primarily involving frame inspections and managing stings as you learn the colony's rhythm [src-serp-1].
Spring: Establishment and Growth
In early spring, your primary goal is to ensure the queen is laying and the population is expanding. Inspect the hive every 7–10 days to check for brood patterns and sufficient food stores. This is not the time to look for honey; it is the time to verify the colony is healthy and growing. If the queen is present and eggs are visible, the colony is on track.
Summer: Honey Flow and Expansion
As temperatures rise, the colony will enter the honey flow. Your job is to provide adequate space by adding honey supers before the brood nest becomes cramped. Avoid harvesting honey this season. The bees need every ounce of stored energy to build comb and prepare for winter. A beginner’s first harvest is often a myth; focus on colony strength instead.
Fall: Winter Prep
By late summer or early fall, your focus shifts to winterization. Ensure the colony has enough honey (typically 60–90 lbs) to survive the cold months. Check for mite loads and treat if necessary, as healthy bees are essential for winter survival. By closing the hive for winter, you set the stage for a successful second year.
Common beginner beekeeping: what to check next
Addressing frequent searches helps new beekeepers learn with official guidelines and expert consensus. The following answers focus on essential gear, legal considerations, and realistic first-year expectations.
No comments yet. Be the first to share your thoughts!