
Buzzing into DIY Beekeeping: Your Starter Guide
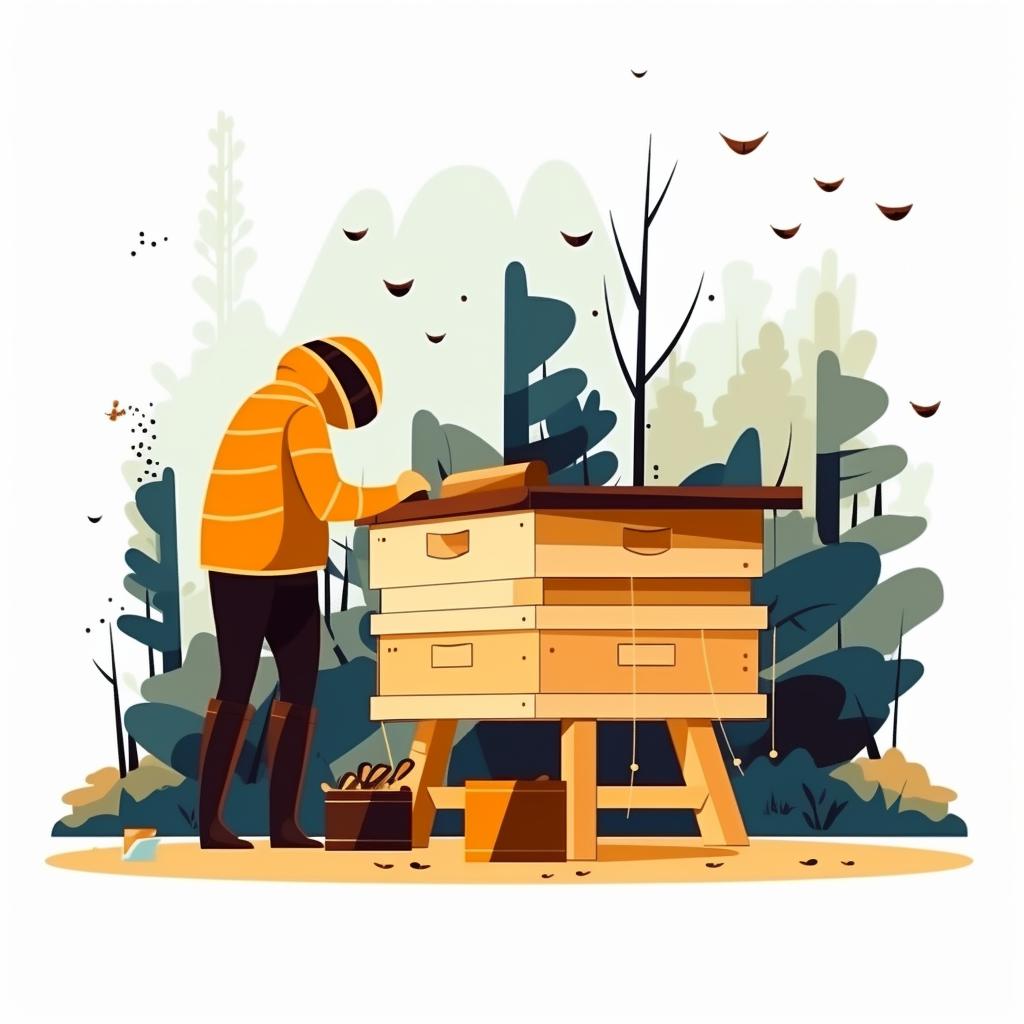
Imagine this: you're in your backyard, the sun is shining, and you're surrounded by the gentle hum of bees. Welcome to the world of home apiary, where the art of backyard beekeeping meets the satisfaction of do-it-yourself craftsmanship. But why consider DIY beekeeping equipment, you ask?
Well, for starters, it's an economical way to start a beehive at home. Beginner beekeeping supplies can be quite pricey, but with a bit of time, effort, and creativity, you can craft your own and save some hard-earned cash. Plus, there's a certain charm in knowing that the honey produced is not just the fruit of your bees' labor, but also a result of your handcrafted equipment.
Whether you're an experienced beekeeper looking to expand your home apiary or a newbie wanting to start beekeeping in your backyard, crafting your own equipment can be a rewarding journey. So, ready to buzz into the world of DIY beekeeping equipment? Let's get started!

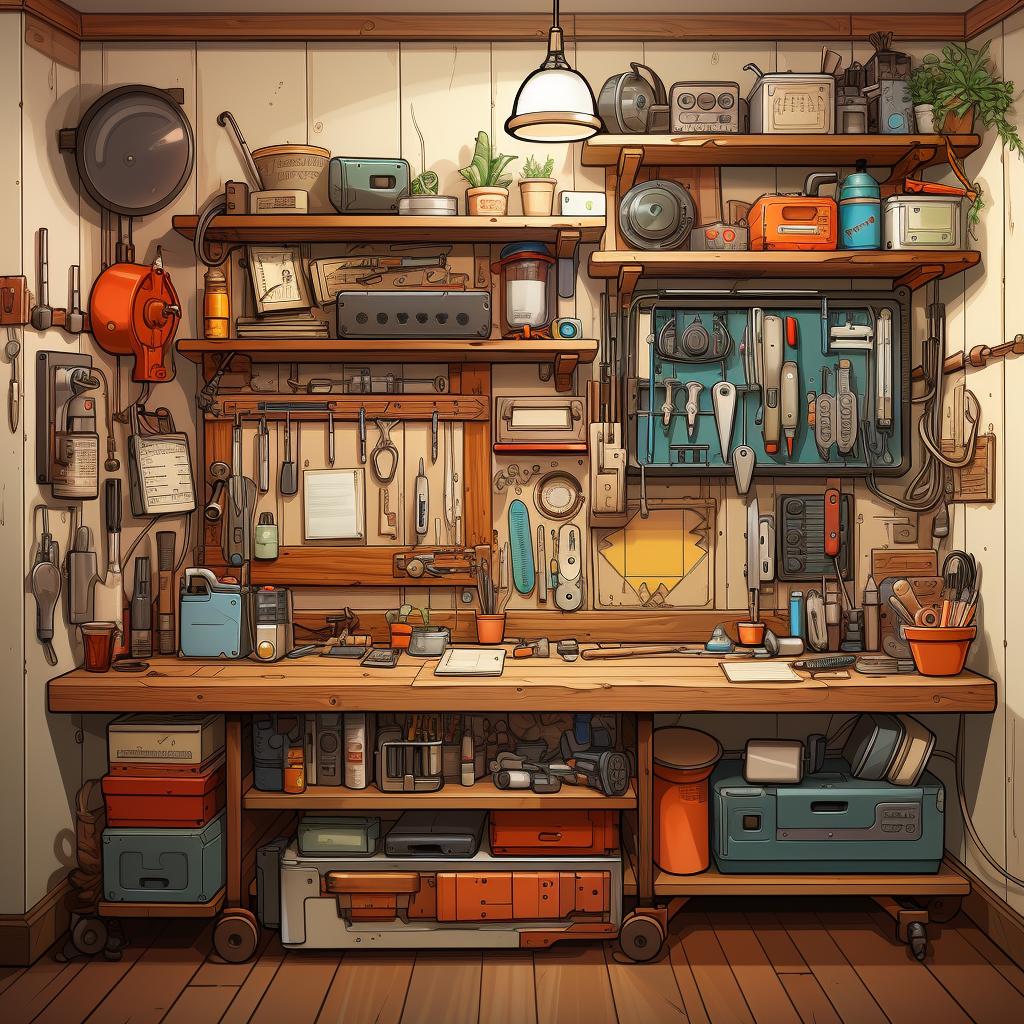
Bee Your Own Craftsman: Essential DIY Beekeeping Tools
Imagine the satisfaction of watching your backyard buzz with activity, knowing that you're the architect of this vibrant ecosystem. Yes, we're talking about the thrill of beekeeping at home. But what if you could take it a step further? What if you could craft your own beginner beekeeping supplies?
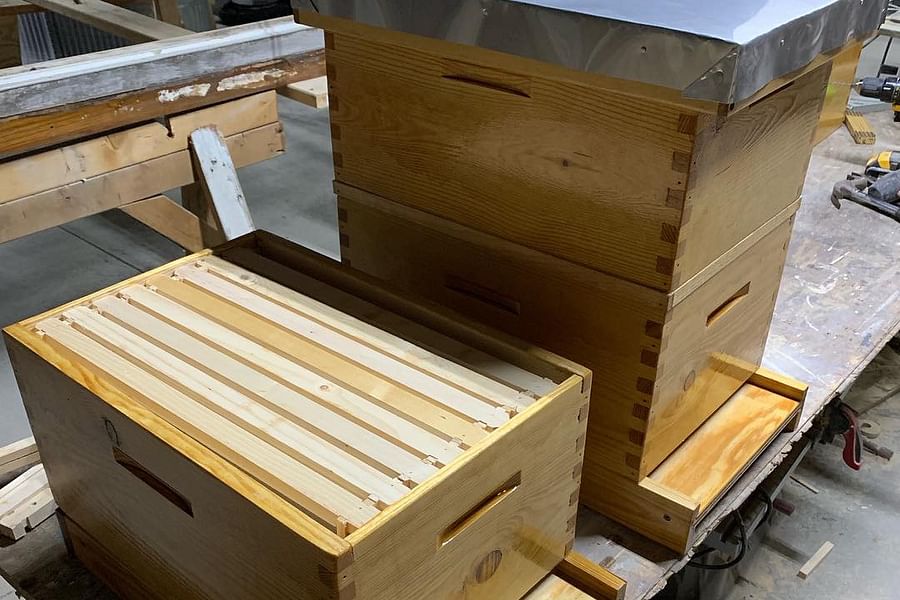
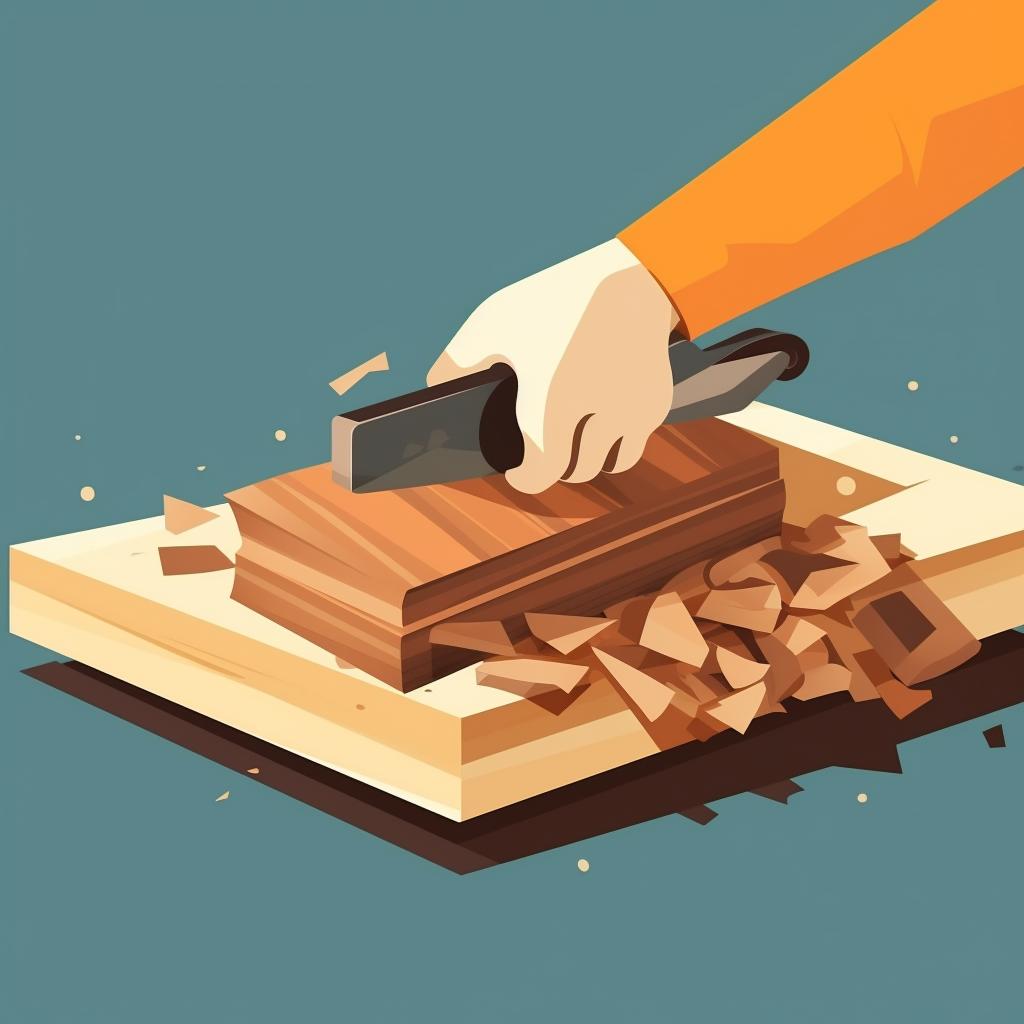
Let's delve into the heart of the hive - the hive bodies and frames. These are your bees' living quarters, where they'll raise their young and store their honey. You can craft them from untreated wood, ensuring a natural and safe environment for your bees. And the best part? You're in control of the design, tailoring it to your bees' needs and your backyard's aesthetics.
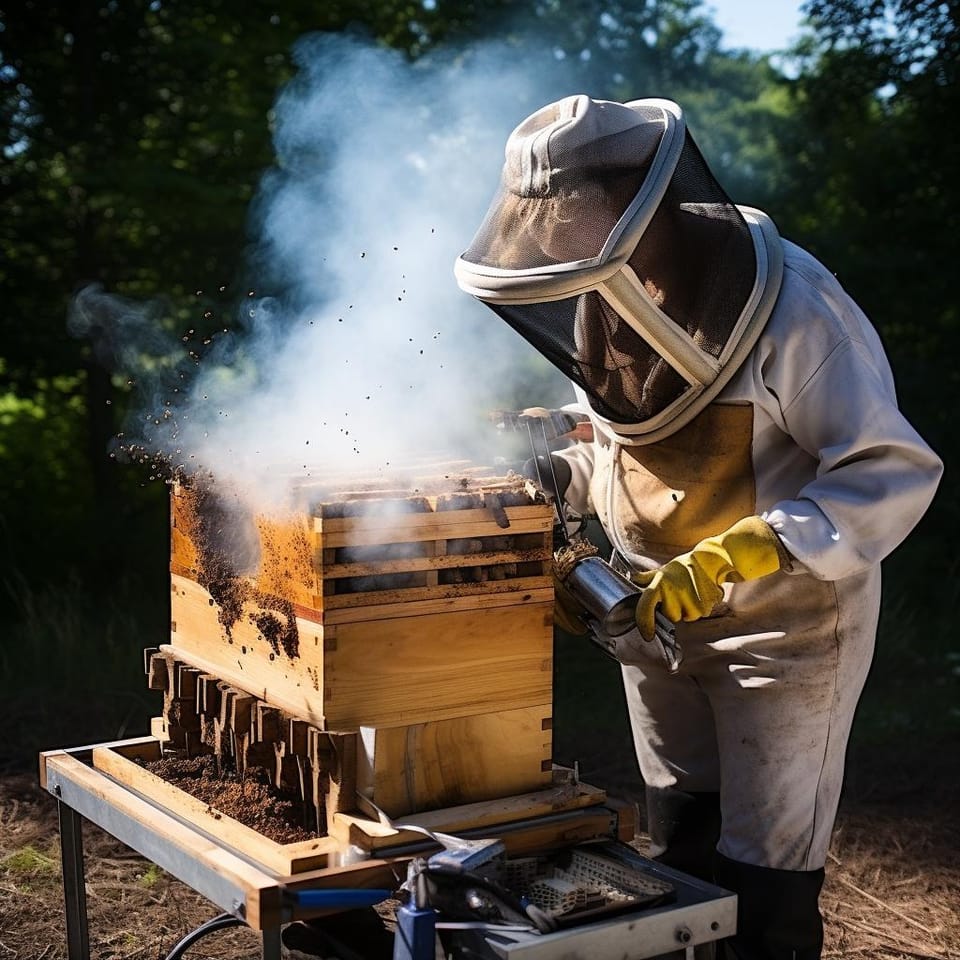
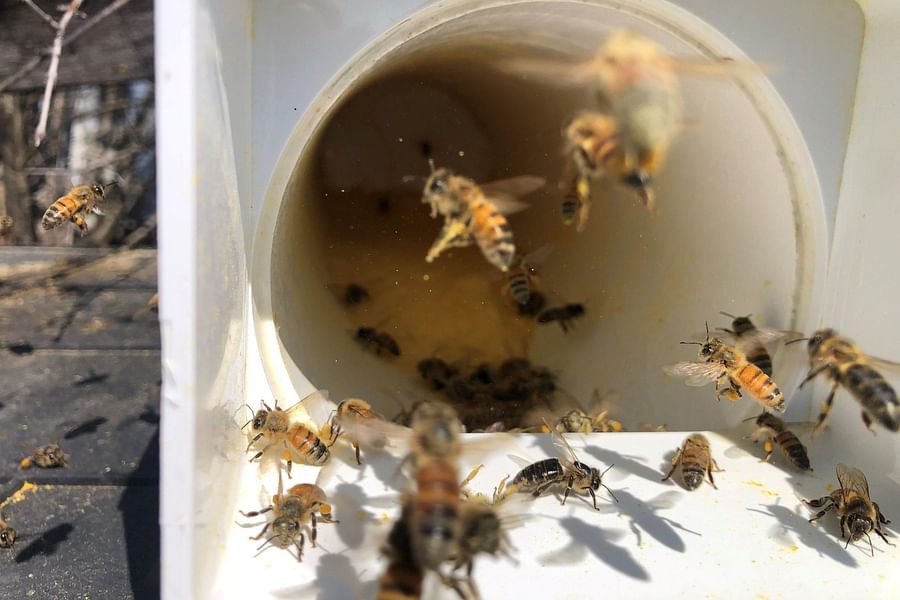
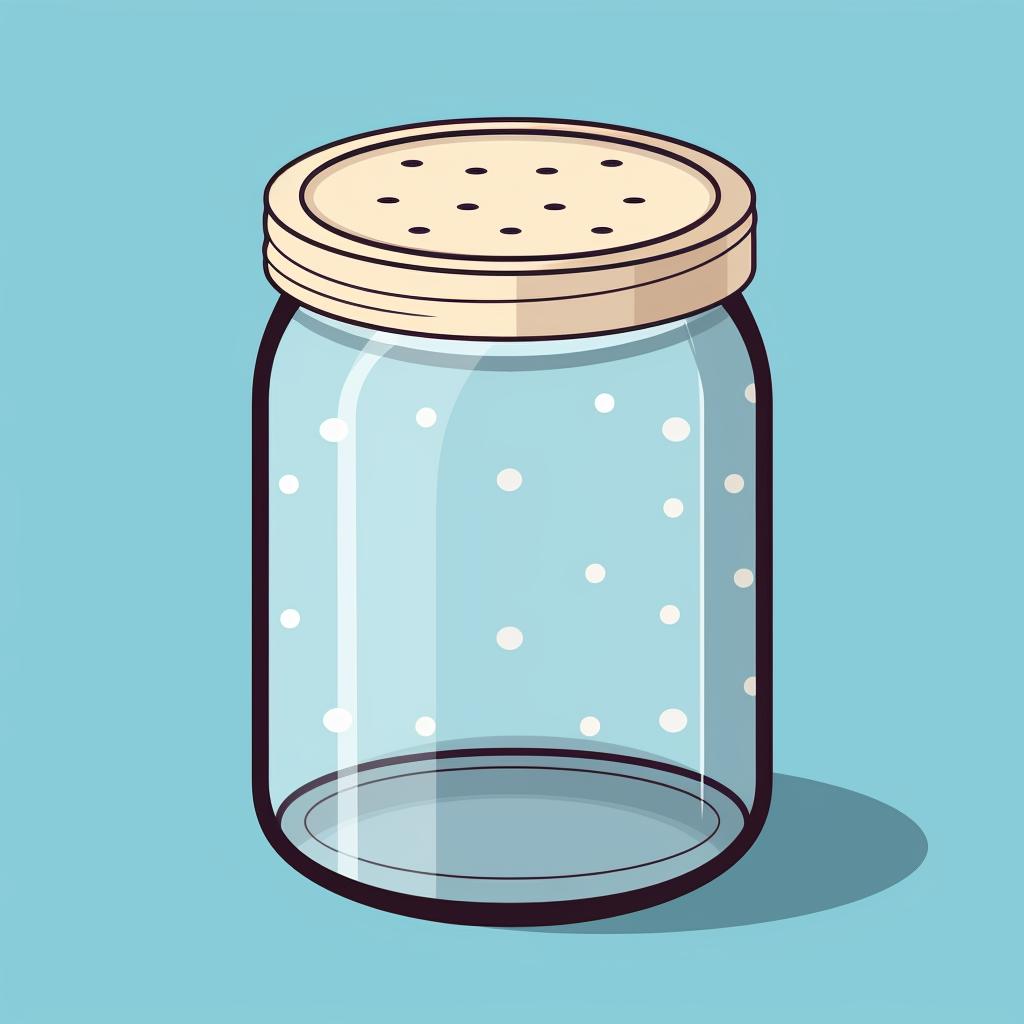
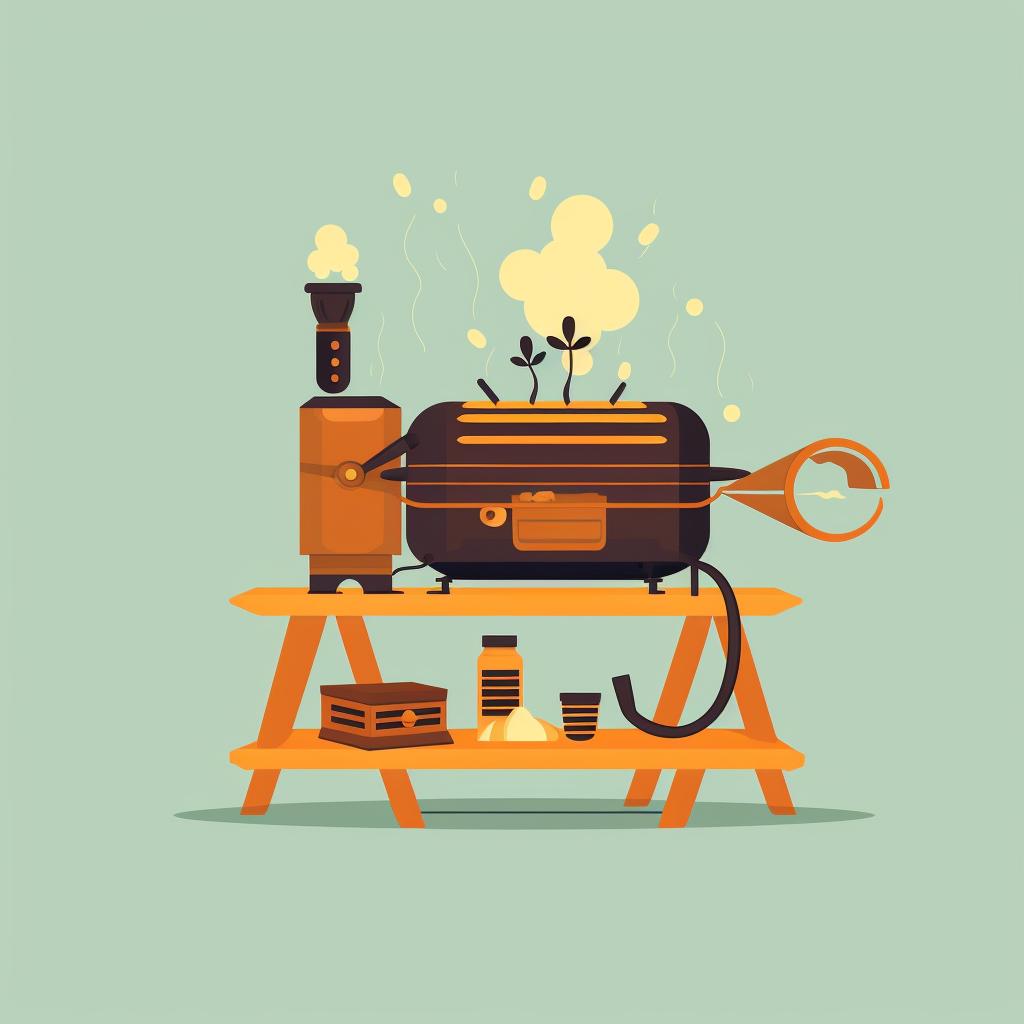
Next up, feeders and smokers. These are essential tools for maintaining a healthy hive and managing your bees. A DIY bee feeder, for instance, can be as simple as an upside-down jar with small holes in the lid. As for smokers, they're the beekeeper's best friend, calming your bees and making hive inspections a breeze. And guess what? You can make one using a tin can and some flexible tubing.
So, are you ready to start a beehive in your backyard? Are you ready to step into the world of DIY beekeeping equipment and transform your home apiary experience?
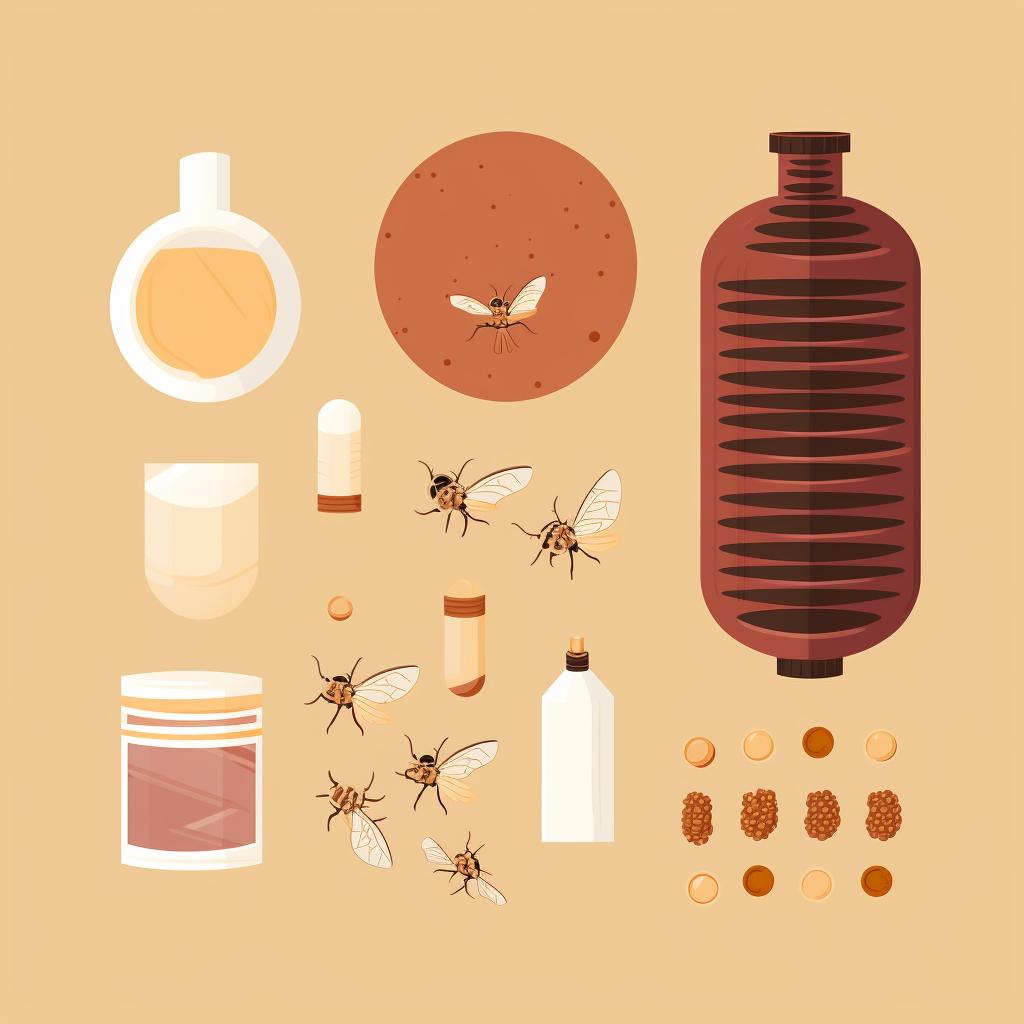
Materials and Tools for DIY Beekeeping Equipment
- Hive Bodies - Untreated wood (pine or cedar), screws, wood glue, saw, drill, measuring tape
- Frames - Untreated wood, wire, beeswax foundation, nails, hammer, saw, wire tensioner

- Feeders - Plastic or glass container, lid with small holes, sugar, water, pot for boiling
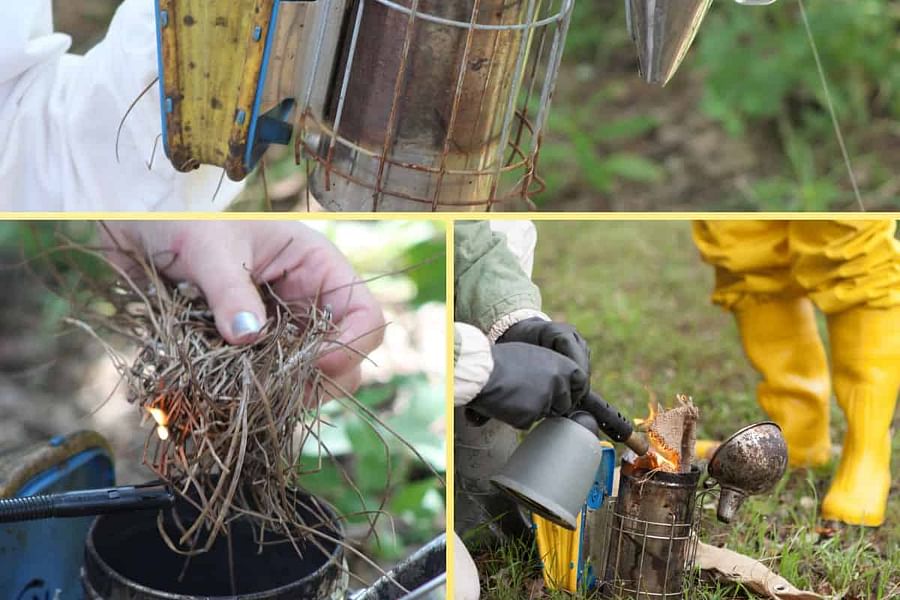
- Smokers - Tin can, flexible tubing, lighter or matches, burlap or wood shavings
Building Your Hive, One Step at a Time: DIY Beekeeping Guides
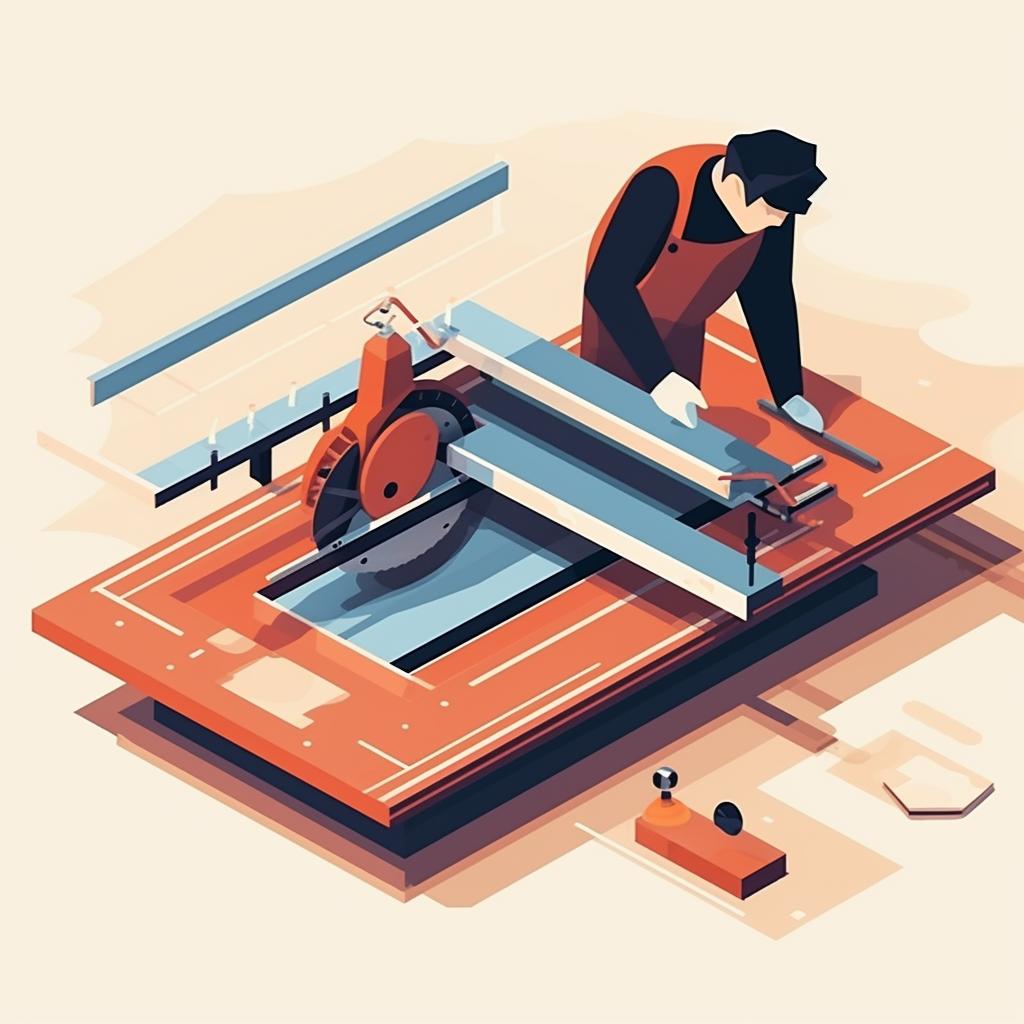
We'll start with one of the most fundamental pieces of beekeeping equipment: the bee hive. Here's how you can craft your own hive from scratch.
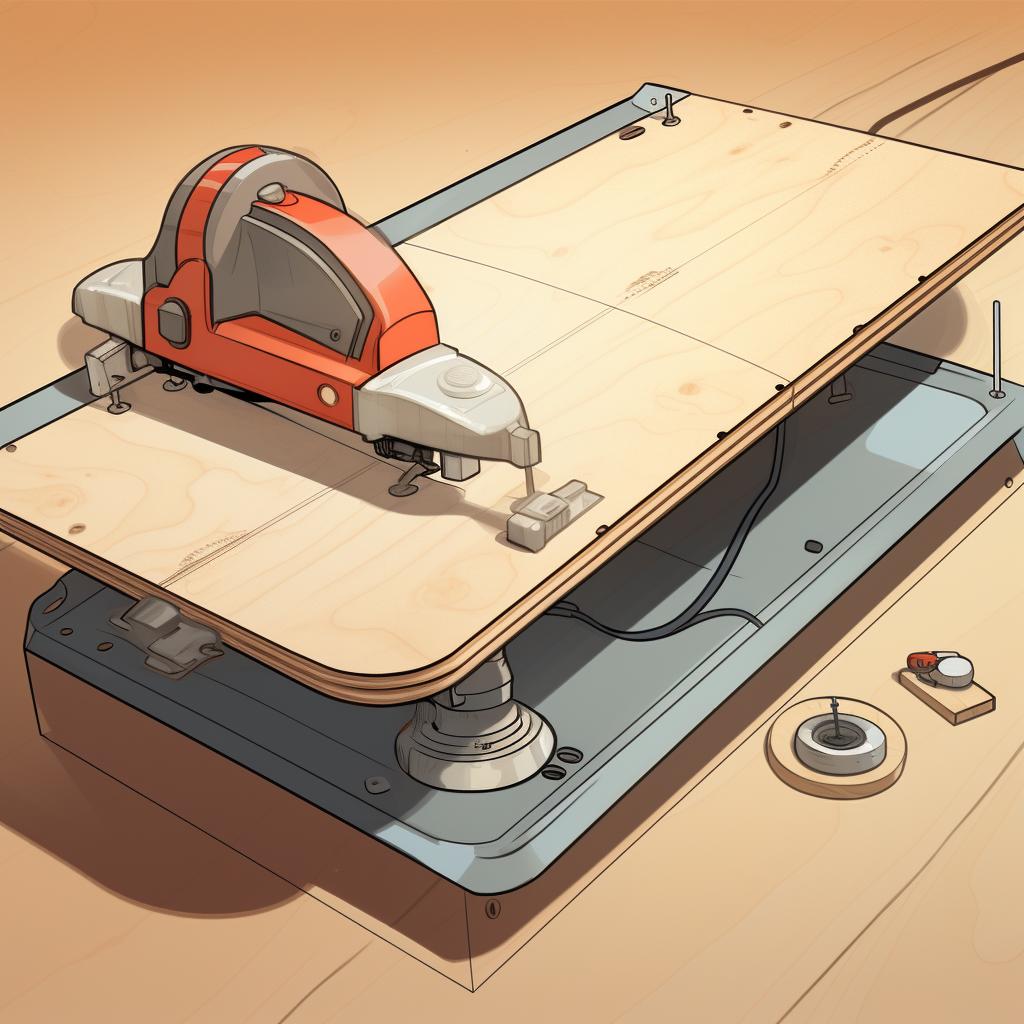
Crafting Your Own Bee Hive: A Step-by-Step Guide

Learn more about Crafting Your Own Bee Hive: A Step-by-Step Guide or discover other Bee Simply guides.
Congratulations, you've just built your own bee hive! Next, we'll move on to crafting a bee feeder.
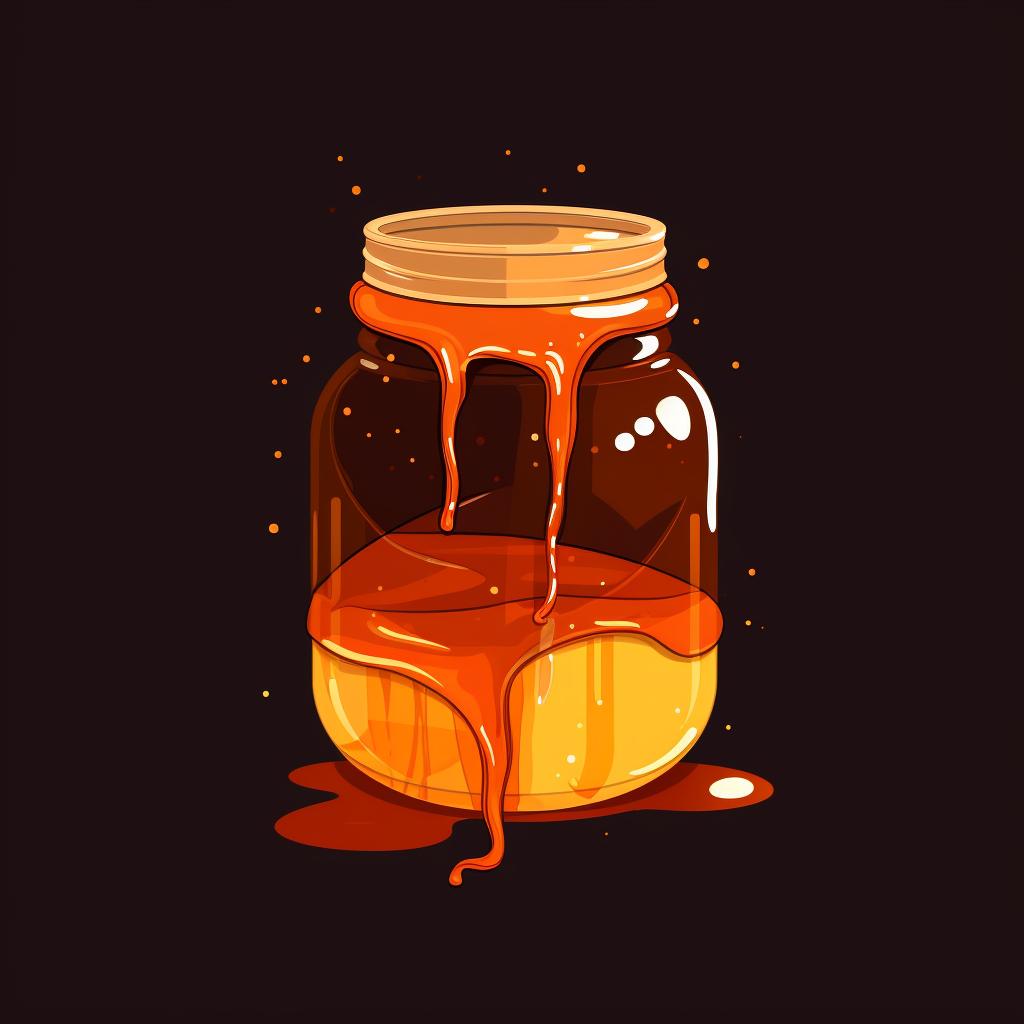
Now that we've covered how to craft a bee hive, let's move on to another essential piece of equipment - the bee feeder. This device is crucial for providing supplemental food to your bees during times when natural nectar sources are scarce.
DIY Guide: Crafting Your Own Bee Feeder

Learn more about 🐝 DIY Guide: Crafting Your Own Bee Feeder 🍯 or discover other Bee Simply guides.
Congratulations on crafting your own bee feeder! This simple yet effective tool will help ensure your bees are well-fed, especially during the colder months. Next, we'll delve into how to craft your own bee smoker - another essential tool for beekeepers.
Now that we've covered how to craft a bee feeder, let's move on to another essential piece of beekeeping equipment - the bee smoker. This tool is crucial for calming bees and making hive inspections safer and easier.
Illustrated Guide to Crafting Your Own Bee Smoker

Learn more about 🔥 Illustrated Guide to Crafting Your Own Bee Smoker or discover other Bee Simply guides.
Crafting your own bee smoker can be a rewarding project, not to mention a cost-effective way to equip your beekeeping toolkit. But remember, safety is paramount when working with tools and when handling bees. Let's move on to discuss some important safety considerations when DIYing your beekeeping equipment.
Safety First! Navigating DIY Beekeeping Without the Stings
Before we delve into the nitty-gritty of crafting your own beekeeping equipment, let's talk safety. After all, what good is a home apiary if it's a hazard to you or your buzzing buddies? When you start a beehive in your backyard, you're not just a beekeeper—you become a craftsman, a protector, and a steward of nature.
Quality materials are your first line of defense. Picture this: a poorly constructed hive collapsing under the weight of honey, or worse, a feeder that leaches toxic substances into your bees' food. Horrifying, isn't it? That's why selecting the right materials for your DIY beekeeping equipment is paramount.
Next, proper use of tools. Ever tried to hammer a nail with a screwdriver? Not only is it ineffective, it's downright dangerous. The same principle applies to beekeeping. Using the wrong tools, or using them incorrectly, could lead to injury or damage to your equipment.
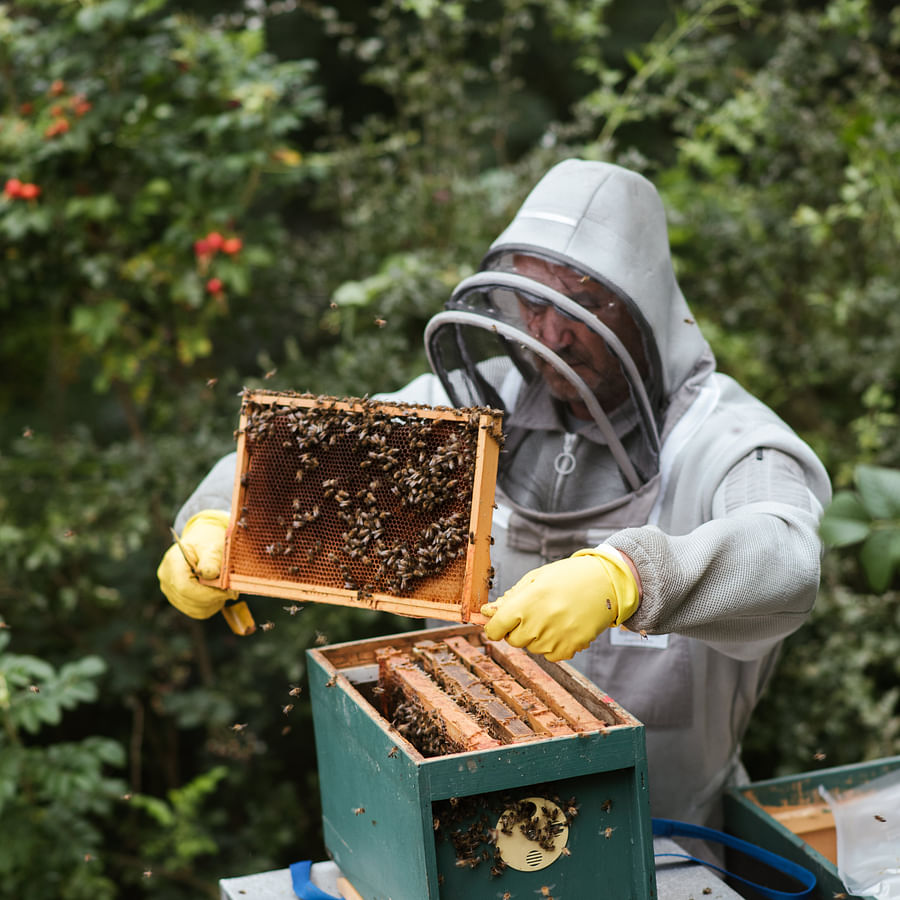
Finally, let's not forget the appropriate protective gear. While your backyard beekeeping adventure can be thrilling, it shouldn't be a daredevil act. Wearing the right gear can save you from a world of pain (literally) and ensure your bee keeping at home remains a joy, not a chore.
Keeping Your Hive Alive: Maintenance Tips for DIY Beekeeping Gear
So, you've finally taken the plunge and started your home apiary. You've crafted your beginner beekeeping supplies, and the buzz of activity in your backyard beehive is music to your ears. But remember, your DIY beekeeping equipment is not a 'set it and forget it' affair. It's a living, breathing entity that needs your tender loving care to ensure it lasts and continues to serve its purpose.
Ever wondered why your grandfather's tools still work like a charm? It's because he knew the secret: maintenance. The same principle applies to your beekeeping gear. Regular check-ups, timely repairs, and a keen eye for detail can keep your equipment buzzing for years.
Whether it's the hive bodies, frames, feeders, or smokers, each piece has its own maintenance rhythm. A well-oiled machine, quite literally, can make the difference between a thriving hive and a struggling one. So, are you ready to roll up your sleeves and give your DIY beekeeping equipment the care it deserves?
Now that we've discussed the importance of maintaining and repairing your DIY beekeeping equipment, here's a handy checklist to help you stay on top of it.
By following this checklist, you can ensure your DIY beekeeping equipment remains in top shape, contributing to the success of your beekeeping efforts. Now, let's move on to discuss the rewards of DIY beekeeping equipment.
Honey-Sweet Rewards: The Satisfaction of DIY Beekeeping
Isn't it remarkable how crafting your own DIY beekeeping equipment can weave a profound connection between you and your buzzing companions? The home apiary you've established is not just a testament to your creativity and resourcefulness, but it's also a stepping stone to a deeper understanding of these fascinating creatures. The hum of your backyard beehive is a symphony of sustainability, a testament to a hobby that goes beyond the ordinary.
Every frame you build, every feeder you construct, they're all chapters in your beginner beekeeping story. Remember, there's no single way to start a beehive in your backyard. The beauty of beekeeping at home lies in the room for experimentation and learning.
So, here's to the tinkerers, the DIYers, and the bee enthusiasts. May your diy beekeeping equipment be sturdy, your harvests plentiful, and your love for beekeeping ever-growing. And remember, every time you lift the lid of your home-crafted hive, you're not just checking on your bees—you're stepping into another world, a world of diligence, community, and honey-sweet rewards!
Will you dare to dive deeper and continue this journey? Why not start planning your next DIY project? After all, who knows what wonders await in the world of backyard beekeeping?
Ready to take the plunge into DIY beekeeping equipment?
After reading this article, are you inspired to start crafting your own beekeeping tools?
No comments yet. Be the first to share your thoughts!